This month marks two years that we have been living in our home here in Omaha. I really can’t believe how quickly time has flown by and it has been so sweet to look back at all of the projects we have accomplished these past couple of years. My husband and I both work full time jobs so finding time in between our busy schedules to tackle DIY home projects was a bit of a challenge at times, but oh so rewarding. From a complete kitchen transformation during week one of moving in to building a complete home-library over the span of several months, we have had a lot of fun putting our own personal touch on this house.
I thought it would be fun to take a walk down memory lane today and share a recap of these projects with you! Keep reading for an inside look at our favorite before and after transformations and some DIY home tips I haven’t shared before!
P.S. my husband and I are by no means professionals. Wet tackled all of these projects on a “learn as you go” basis, turning to YouTube for help and lots of trips to our local Lowe’s! If you’re contemplating tackling DIY in your own home, DO IT! Even if you have no idea where to start, dive in and trust the process – you won’t regret it!
*Disclaimer: this post does contain affiliate links which I may receive a commission for if used at no additional cost to you. Read more about my advertising policy here.
Our First DIY: The Kitchen of Our Dreams
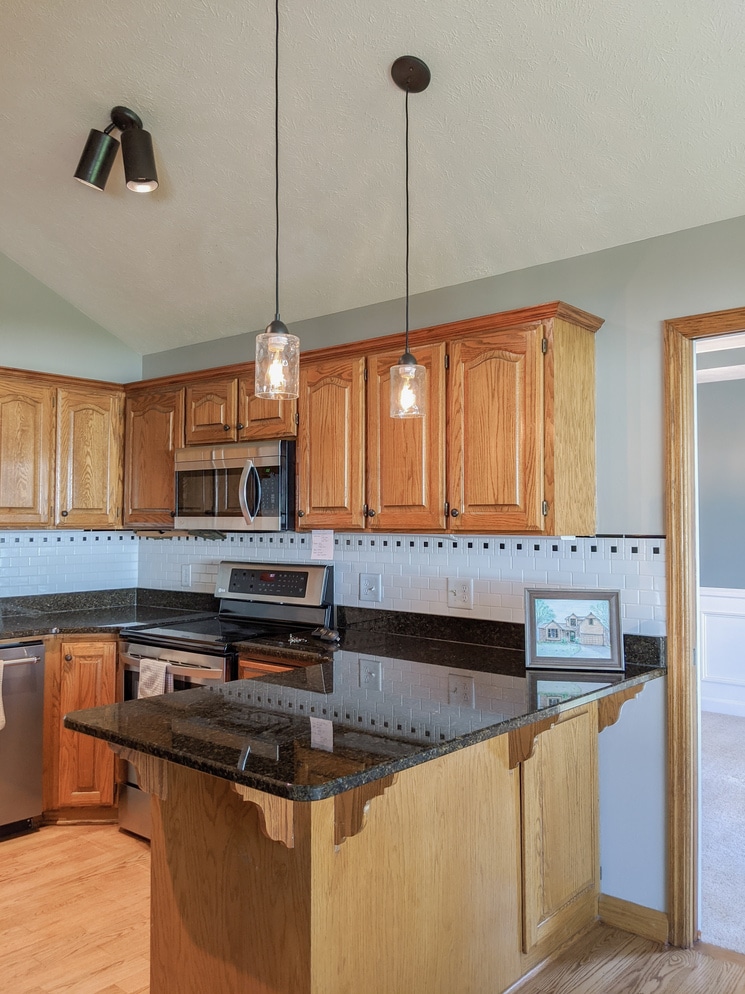
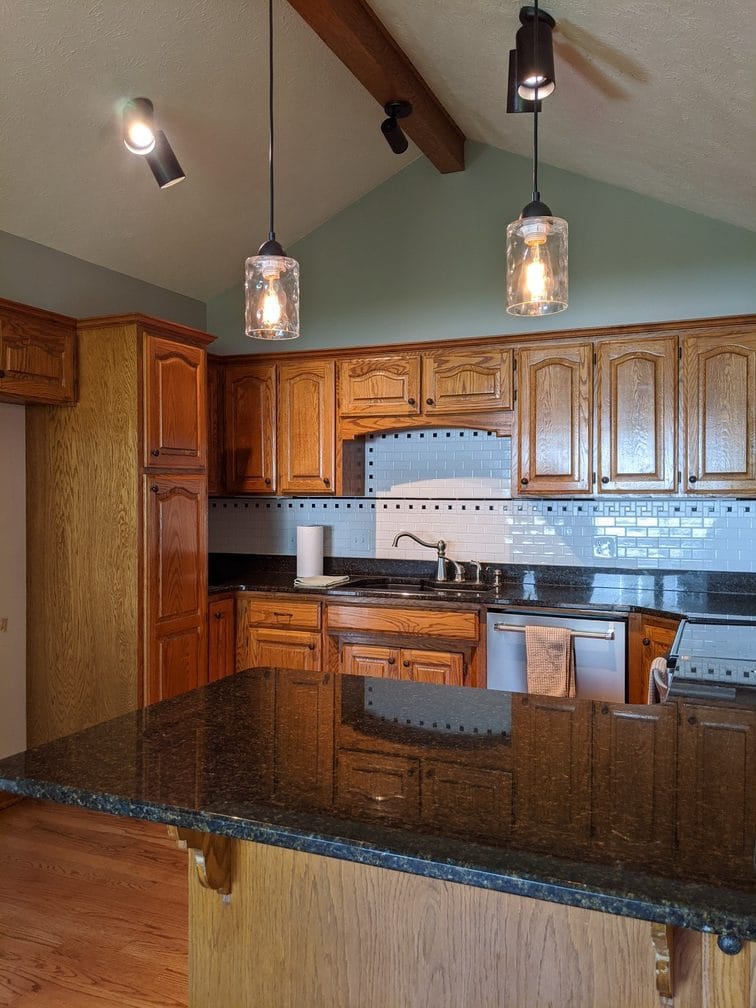
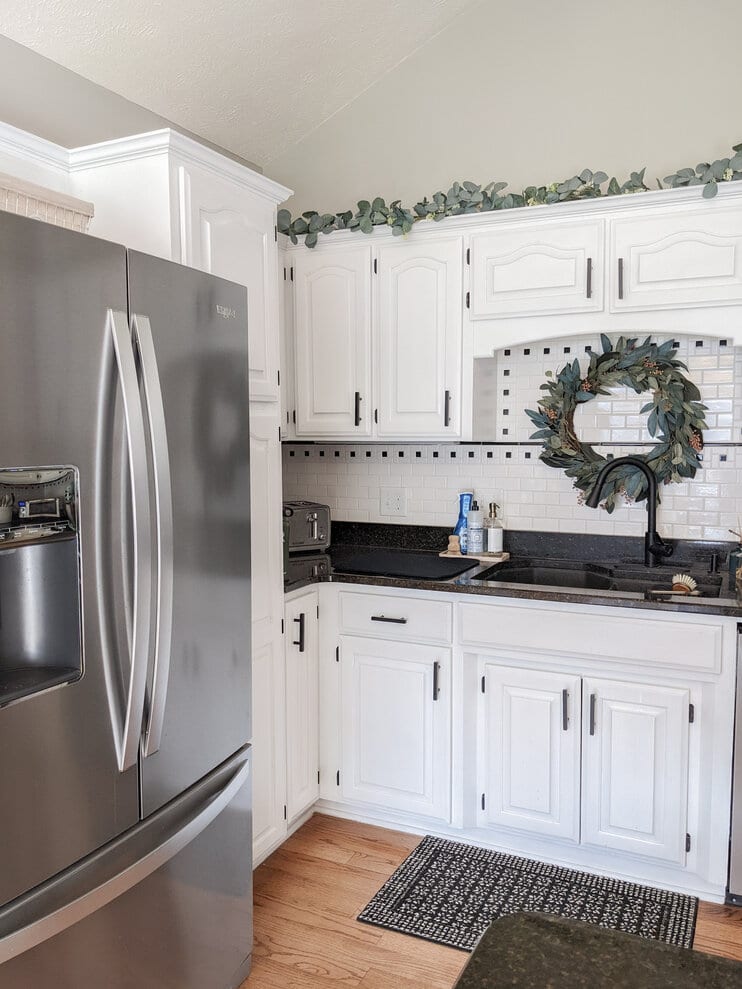
I always dreamed of having a bit white kitchen so that was easily the first project we had on our list. We started this project immediately upon moving in and it took a few weeks to finish with a LOT of hard work! I go into further detail on the entire DIY process in this post here but we basically hand-painted all of the cabinets and added new hardware. If we did it again, we would 100% invest in either purchasing or renting a paint sprayer as it would have saved us so much time.
I will link all of the tools, paint and decor we used for this remodel below. We went with a cabinet specific paint so that the finish is durable and will last several years before requiring a touchup. I am so happy with the result we got from this paint and would 100% use this brand again for future kitchen renovations.
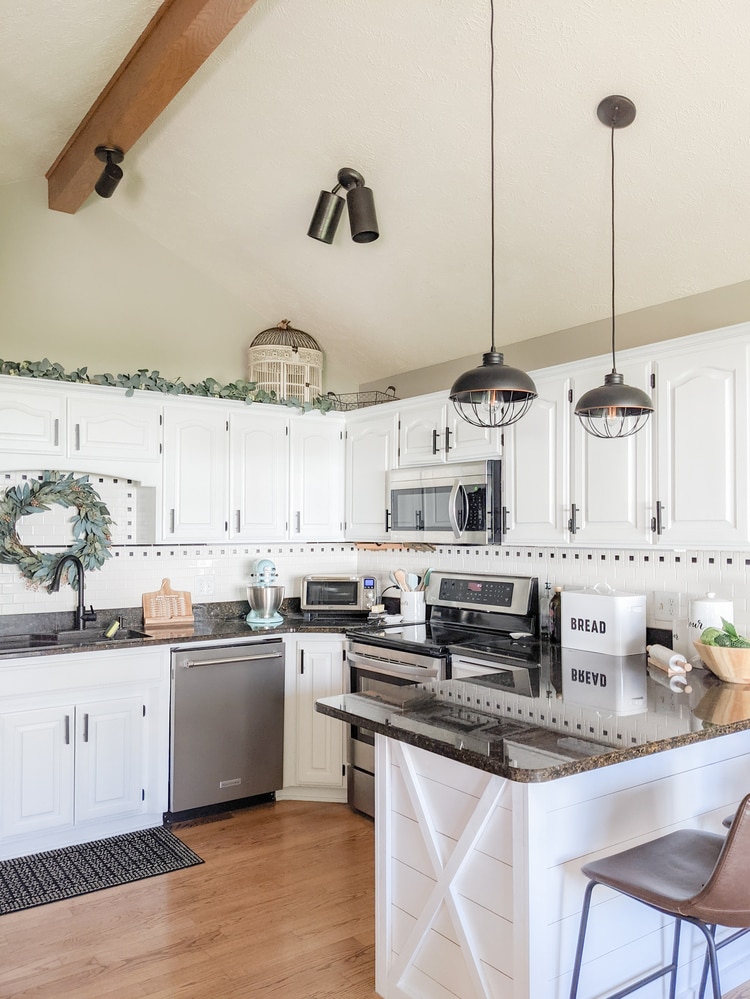
We also added a personalized touch last minute to the island by boxing it off with wood slats to give a custom look to the bar. I go into further detail on this process in my DIY Kitchen blog post, but it was so much easier than we expected!
Hardware was the most expensive part, but we found affordable bulk options on Amazon, also all linked below! Looking back at these before and after photos is always so unreal to me – I truly can’t believe it’s the same kitchen!
Kitchen Remodel Tools:

My Personal Favorite DIY: Our Home Library
UPDATE: This corner recently got a makeover. Checkout the full tutorial and recent changes made here.
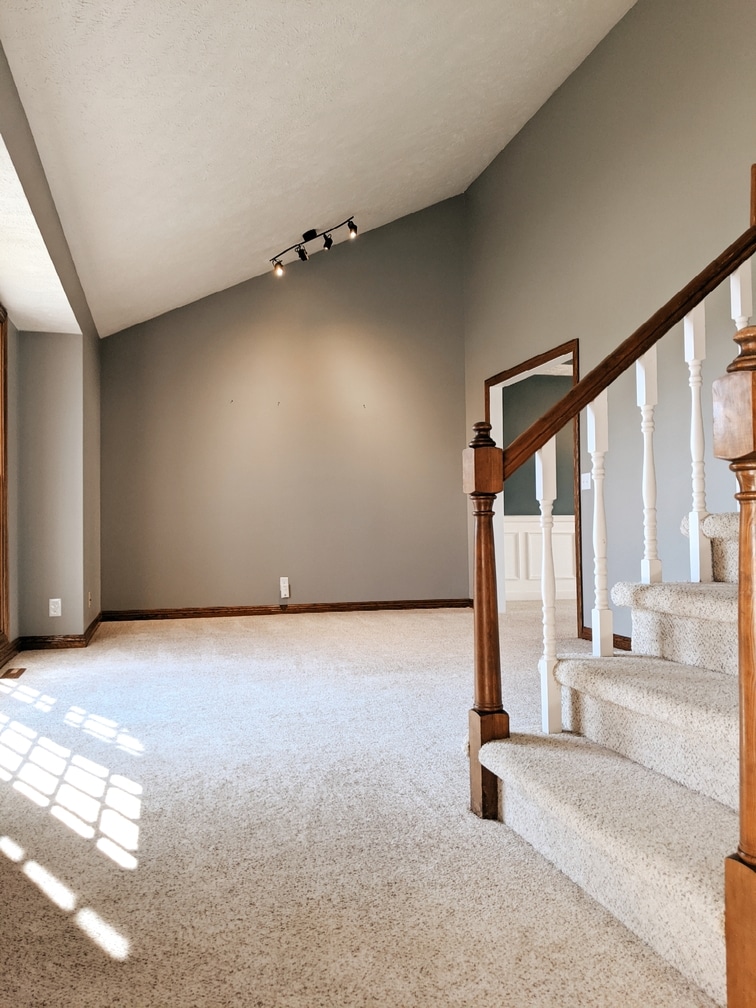
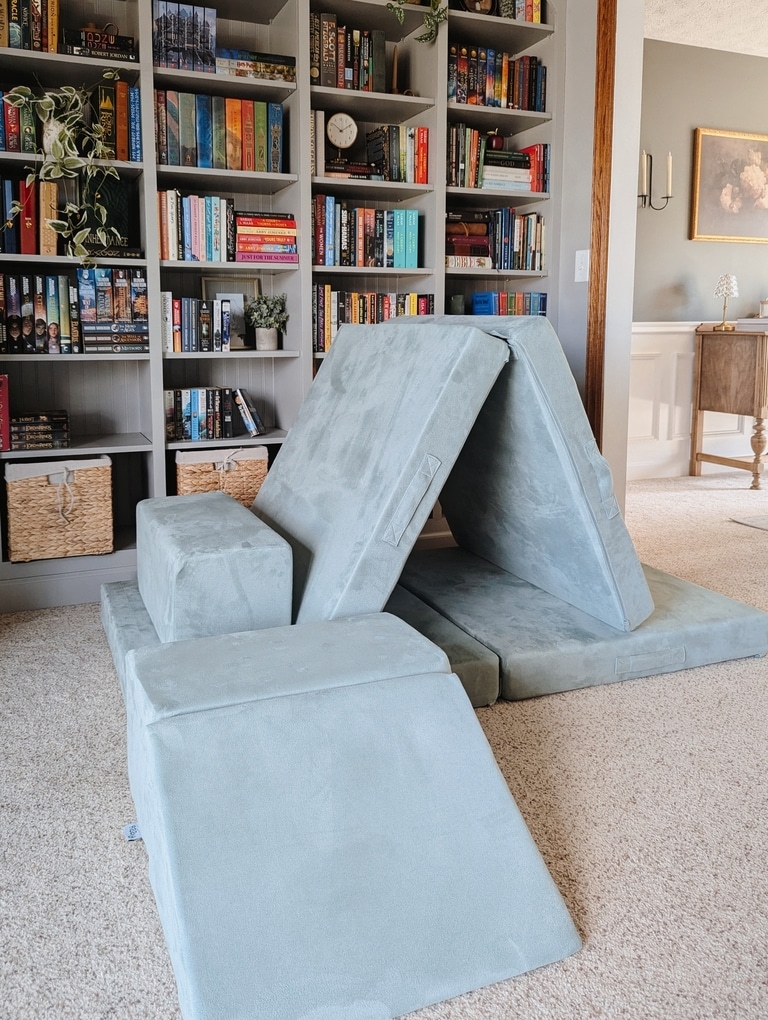
This DIY home project is easily my favorite, as it was a huge dream of mine for several years. The second we walked into our home for the first time, I knew that this room was going to be our home library and I instantly dreamed up a vision for the space. This bookshelf actually took us the longest to complete at almost a full year of working on it but only because it required a lot of help to mount the larger pieces of wood to the wall.
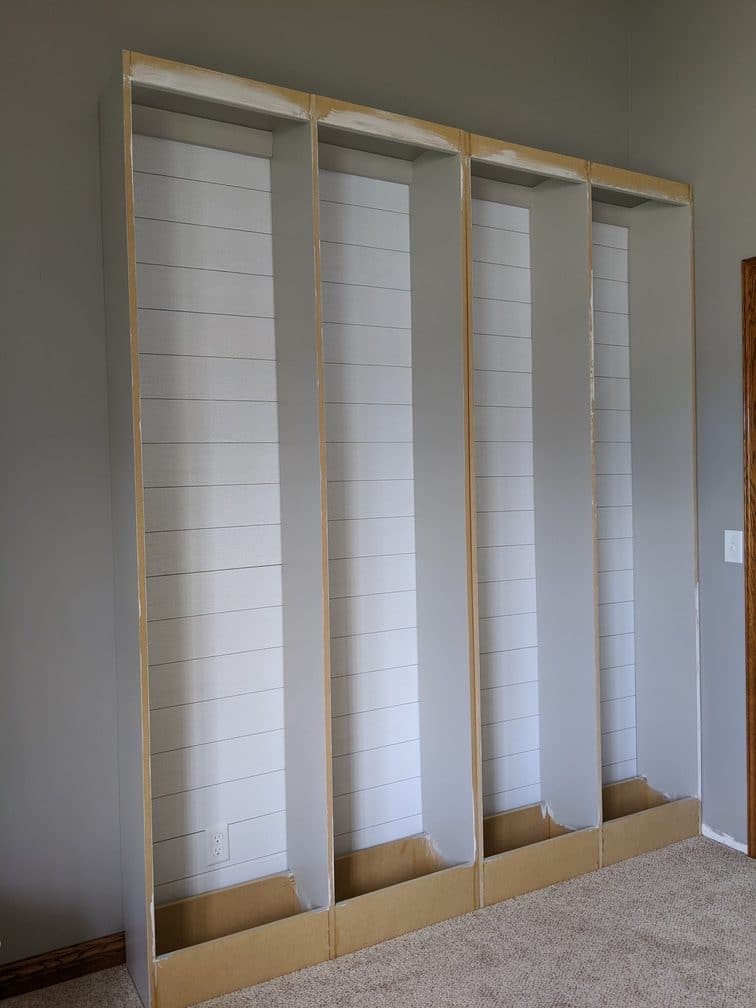
To complete this build, we measured out how long and tall we wanted the bookshelf to be and then took those measurements to Lowe’s, found the wood we wanted and had the wood pre-cut right there at the store! At the time, we didn’t have a table saw or fancy tools so we knew we had to take home all pre-cut materials. Then, we set it up almost entirely on the floor first before lifting and mounting the entire unit to the wall. We also added a layer of shiplap wallpaper to the wall behind it to give dimension to the bookshelf and I love how it turned out.
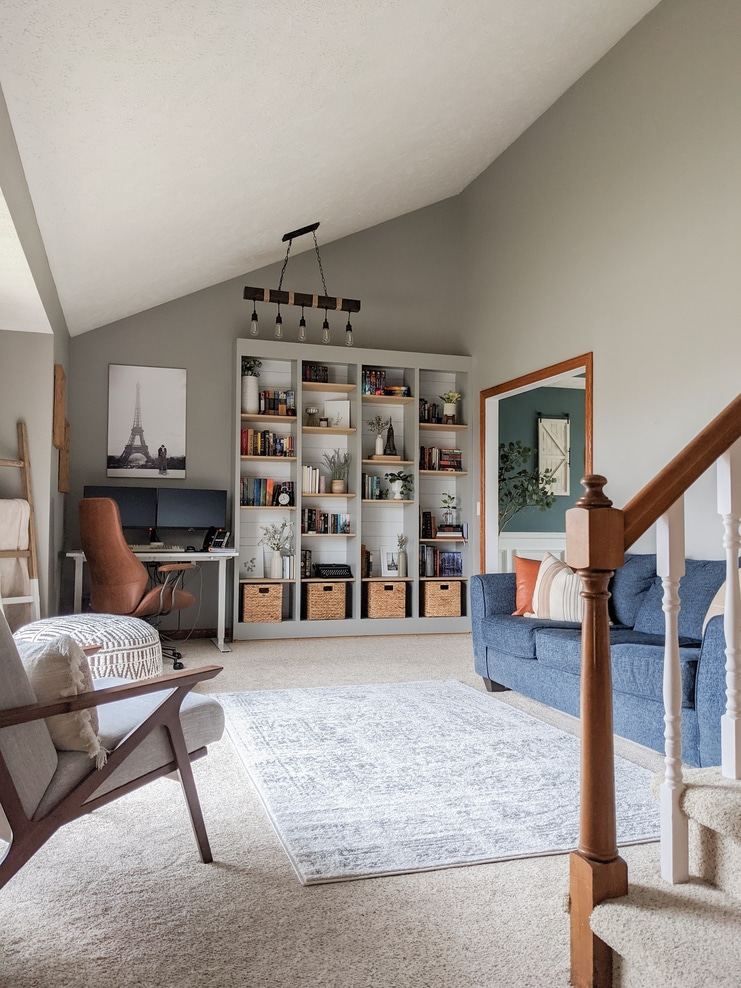
The paint color of the built-in bookshelf and walls in this room is Dorian Gray by Sherwin Williams.
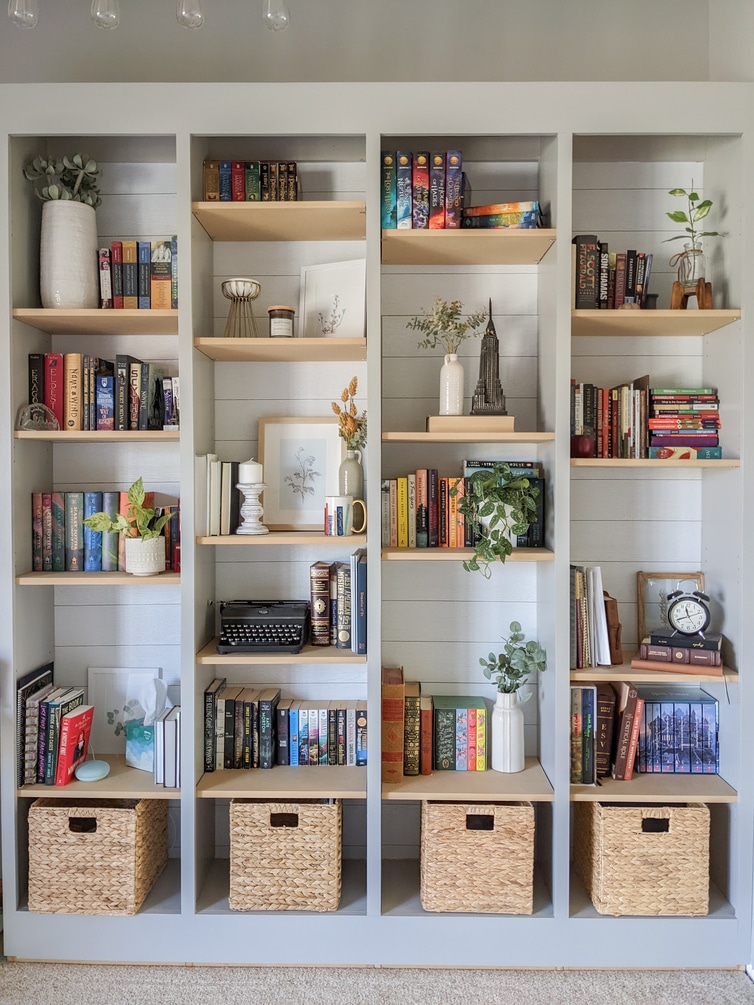
We also were sure to drill several holes on the inside of the shelf sides so that each shelf could be adjusted to different heights. This allows us to have the mismatched layer look you see here and also gives us the flexibility to add more shelves if needed in the future. The shelves pictured here are actually unpainted MDF board, believe it or not! We plan to replace them someday with a more solid wood choice, but for now – on a budget – it works!
The best part was of course decorating. I had so much fun finding different pieces to fill each shelf with. As our book collection grows, things easily move around and adjust to fit our needs. I decided to use the bottom shelves for basket storage to keep some of the clutter out of the way, and knew it would be super functional for when we have kids someday, too!
Shop Our Bookshelf:
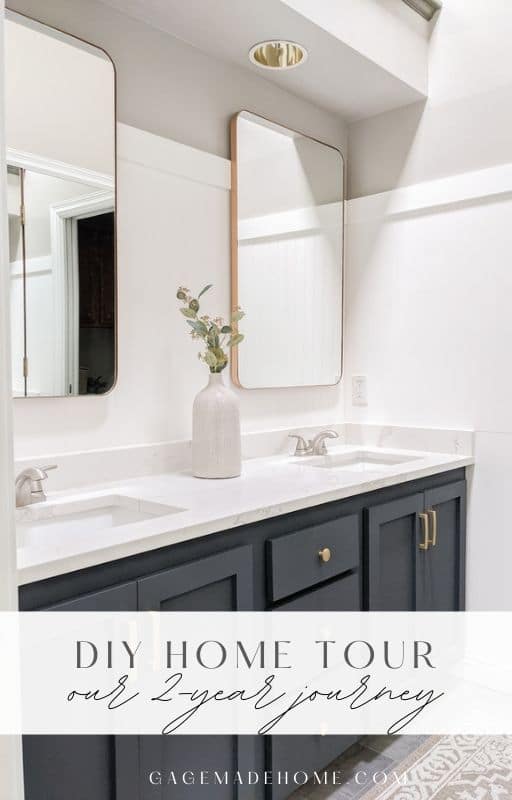
Our Master Bathroom Vanity DIY
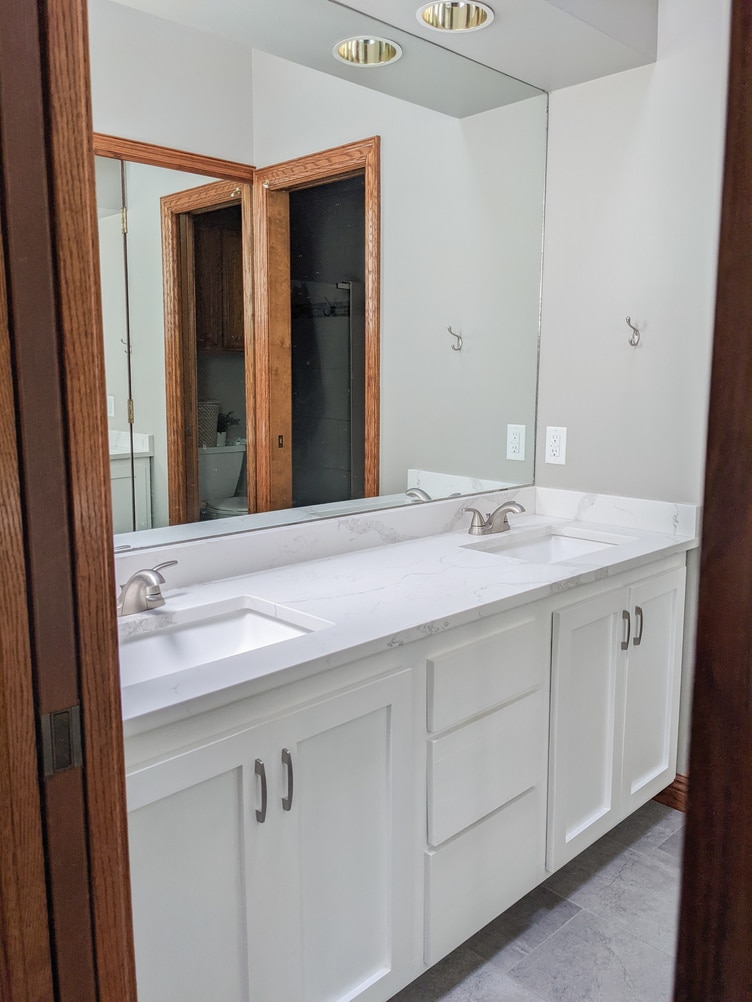
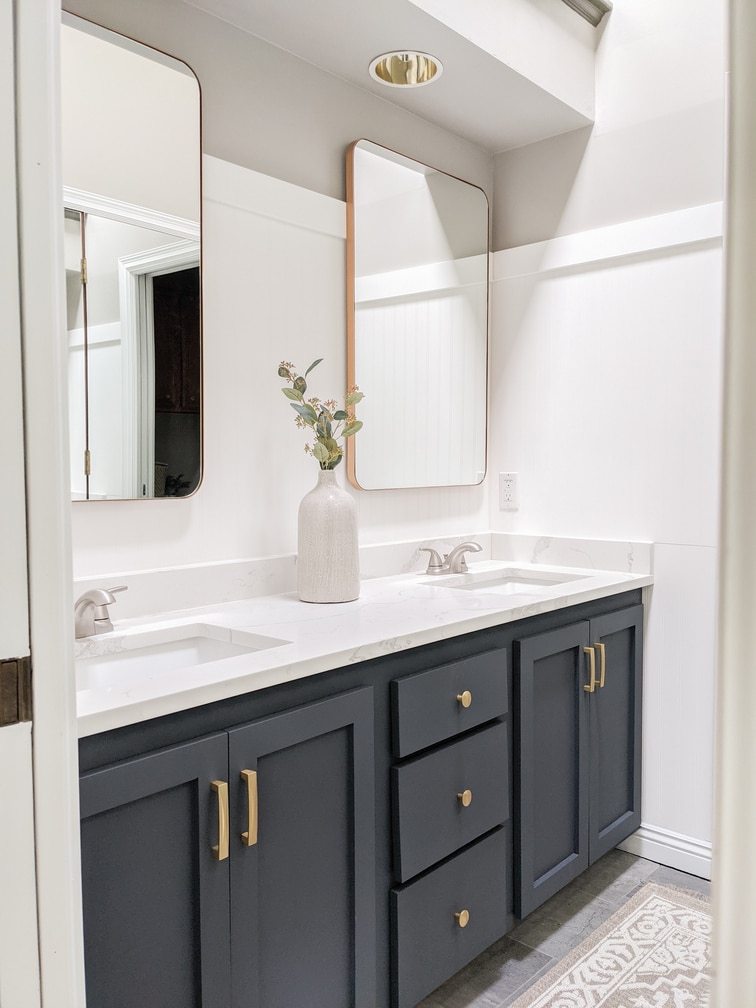
We have big plans to renovate the rest of our master bathroom someday, but we hated the huge builders-grade mirror in here and knew it had to go ASAP! We decided to add pre-made beadboard panels to the back and sides of the vanity, closed off by the floor molding and a thin layer of molding on top, too. All of these materials were found at a local hardware store and just painted over it with a basic white paint.
The vanity cabinets were then painted with this gorgeous deep navy color from Dutch Boy Paints. The color is called “Onyx” which sounds black, but it actually comes out a true dark navy. To finish off the look, we replaced the hardware with gold pulls to really pop on the dark backdrop.
We also went with these gorgeous large vanity mirrors from Overstock in a gold finish that almost matches the handles. These were definitely the most expensive part of the whole project. Without the mirrors, this remodel only cost about $100 which is an extremely budget-friendly DIY home project!
Shop Our Master Bathroom:
DIY Fireplace Mantle Refresh
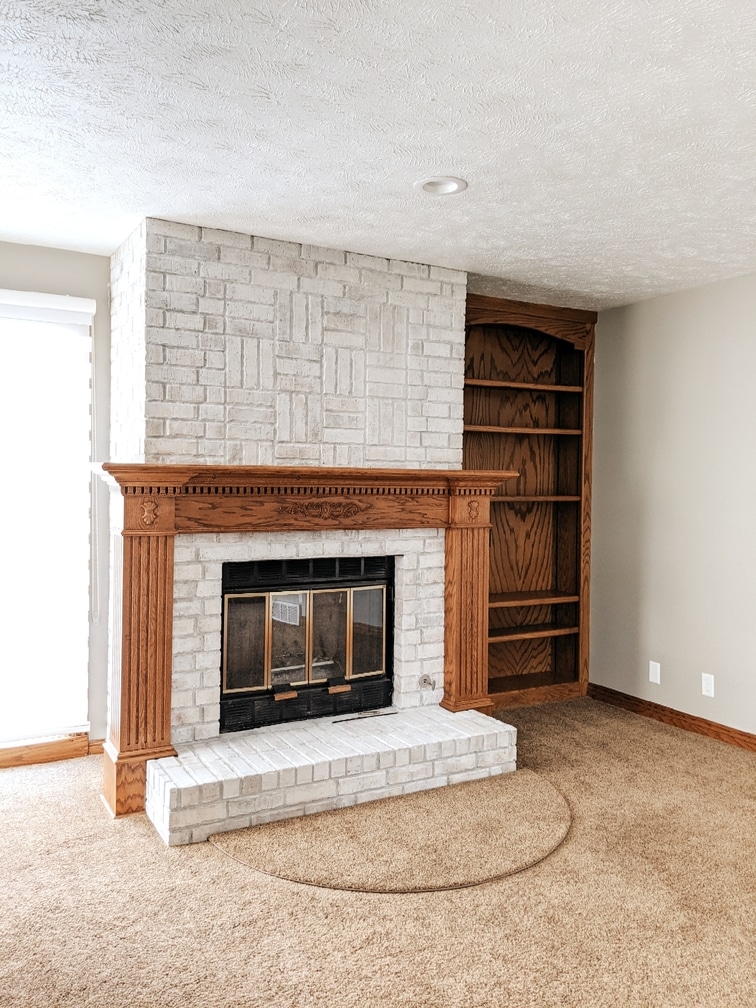
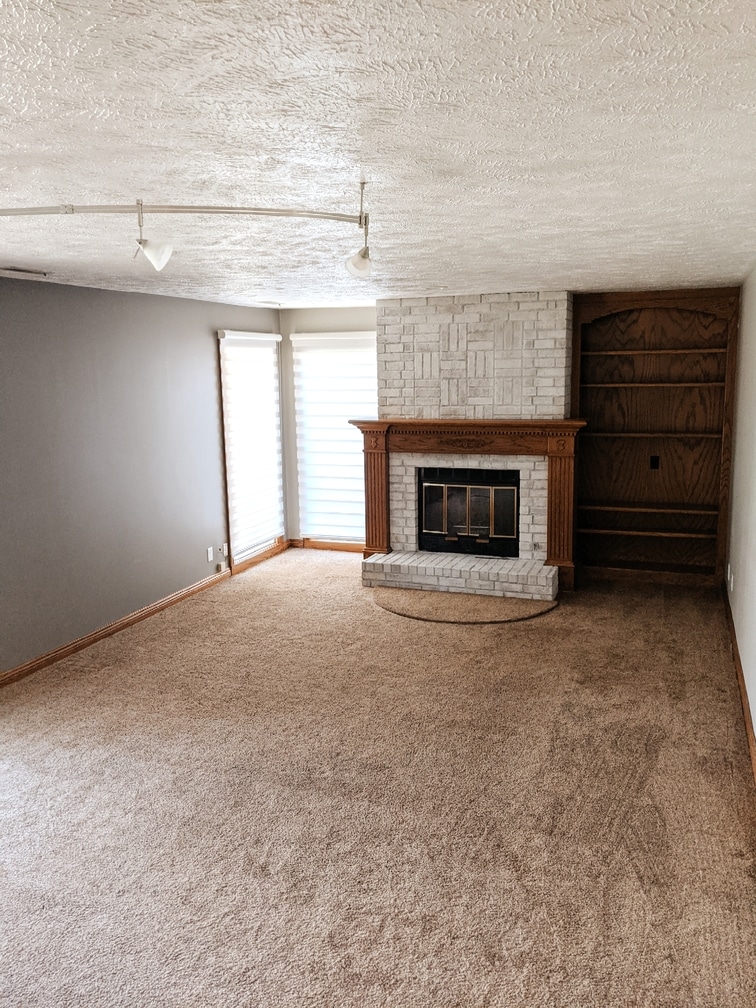
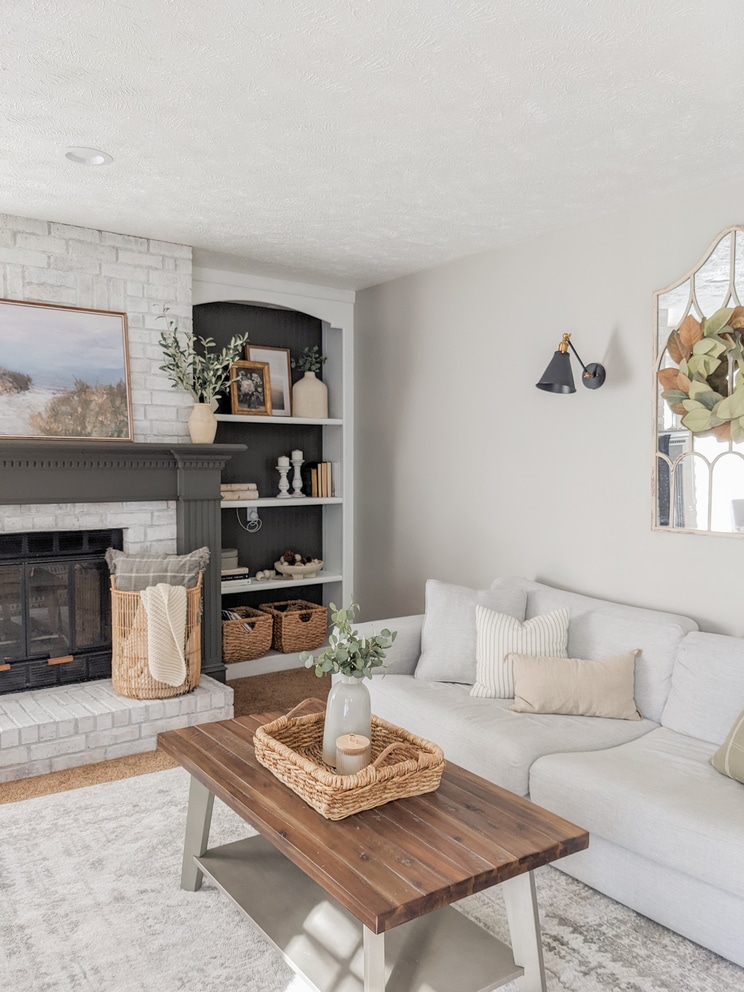
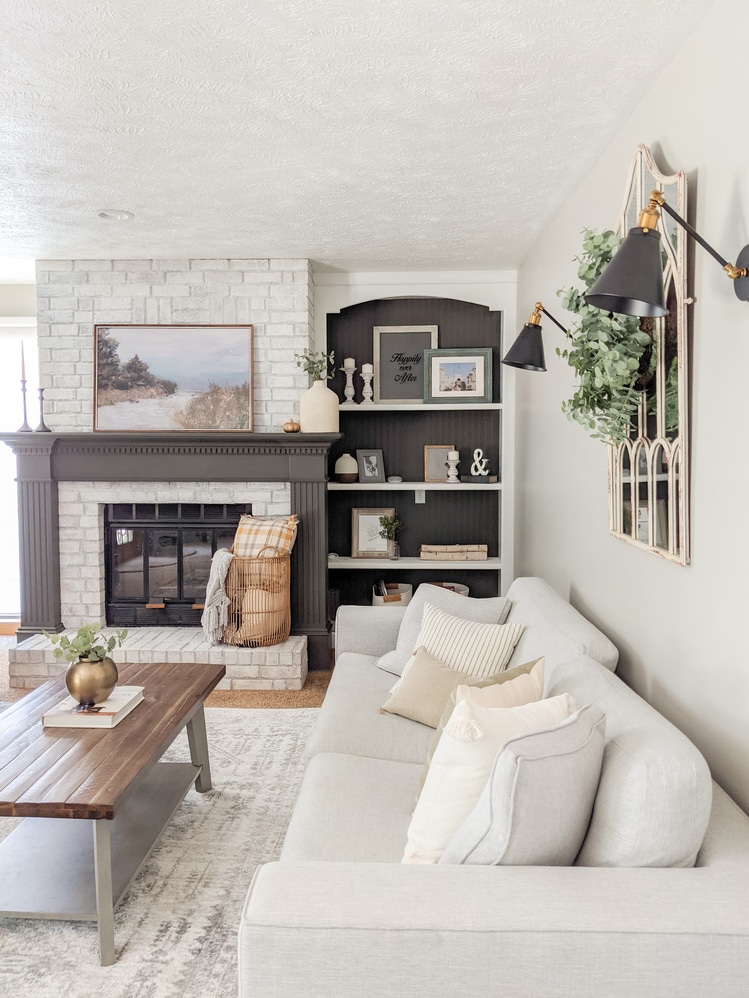
I went back and forth on this project so many times. I couldn’t decide if I wanted to completely replace the mantle with a free-floating piece of wood or keep it as is and just paint over it. After a lot of thought and Pinterest searching, I decided to keep this unique piece of our home intact and just give it new life with some paint. We went with the color Urbane Bronze by Sherwin Williams and it is absolutely gorgeous! I also removed some of the wood embellishments that were on the mantle and sanded it down for a smooth finish.
We also wanted to tie in the gorgeous Urbane Bronze color with the bookshelf beside it. I had actually renovated the backside of this bookshelf differently before with some shiplap wallpaper (see below image), but ended up not liking that look after a few months and decided to switch it out with bead board wallpaper, instead! I definitely think this look fits our style more and completes the vision we had for the space.
p.s. The star of the show in this room is our gorgeous Article Sitka Sofa that completed the space and made my vision for the room come together. Read my full review on this sofa here and be sure to check them out for affordable modern furniture that meets the expectation of high quality design!
Shop Our Living Room:
Watch the DIY Tour
That’s a wrap on our big four DIY home projects completed so far! We can’t wait to dive into more projects and take you along the journey as we continue to make this home ours. Take a closer look at the completed projects below and drop a comment to let me know which one is your personal favorite! Looking for more DIY home inspiration? Head to my Home Archive for more affordable ideas!
PIN IT:


")
4 Comments
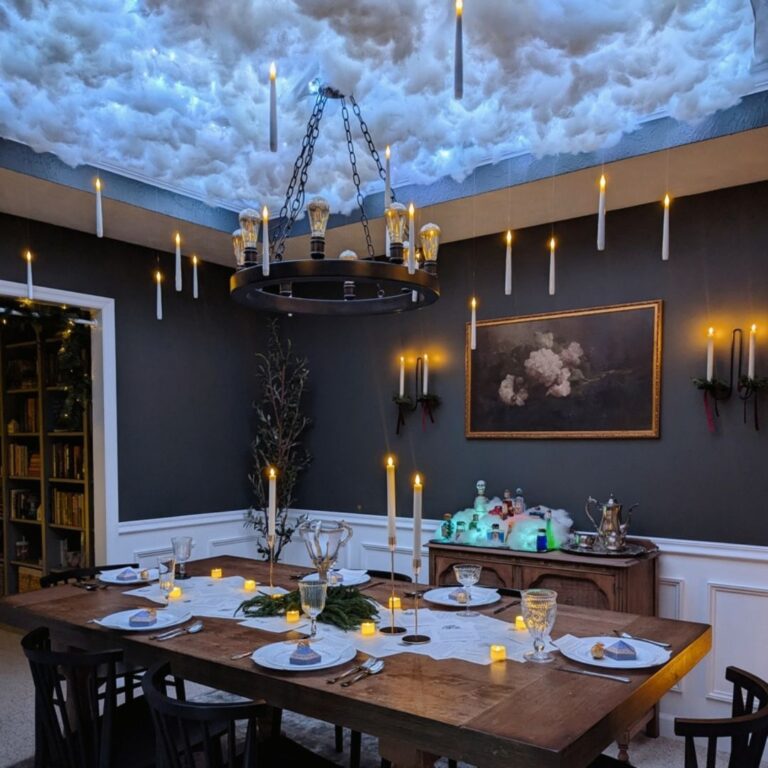
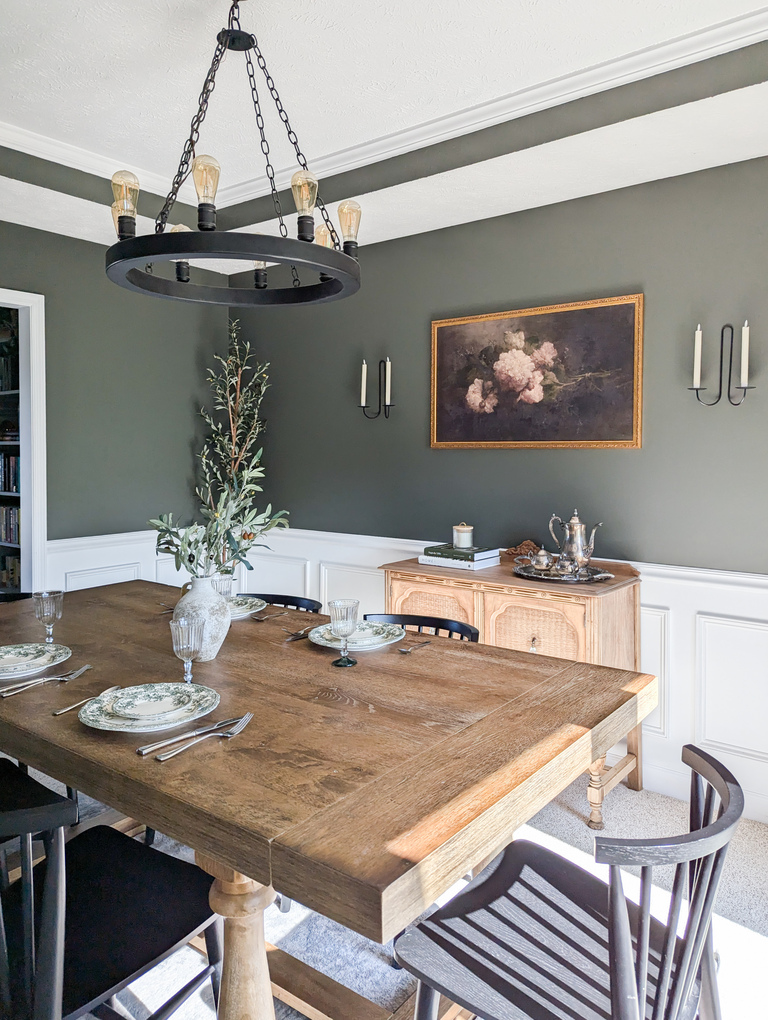
Beautiful diningroom! What color are the walls?
Thank you! The paint is Riveryway by Sherwin Williams!
What color are your living room walls?
mindful gray by sherwin williams! 🙂