I am so excited to give you all a behind the scenes look at our DIY kitchen remodel and how we achieved the dreamy Farmhouse-inspired look without breaking the bank. Although it does require a bit of work, I promise it so much easier and more affordable than you would think.
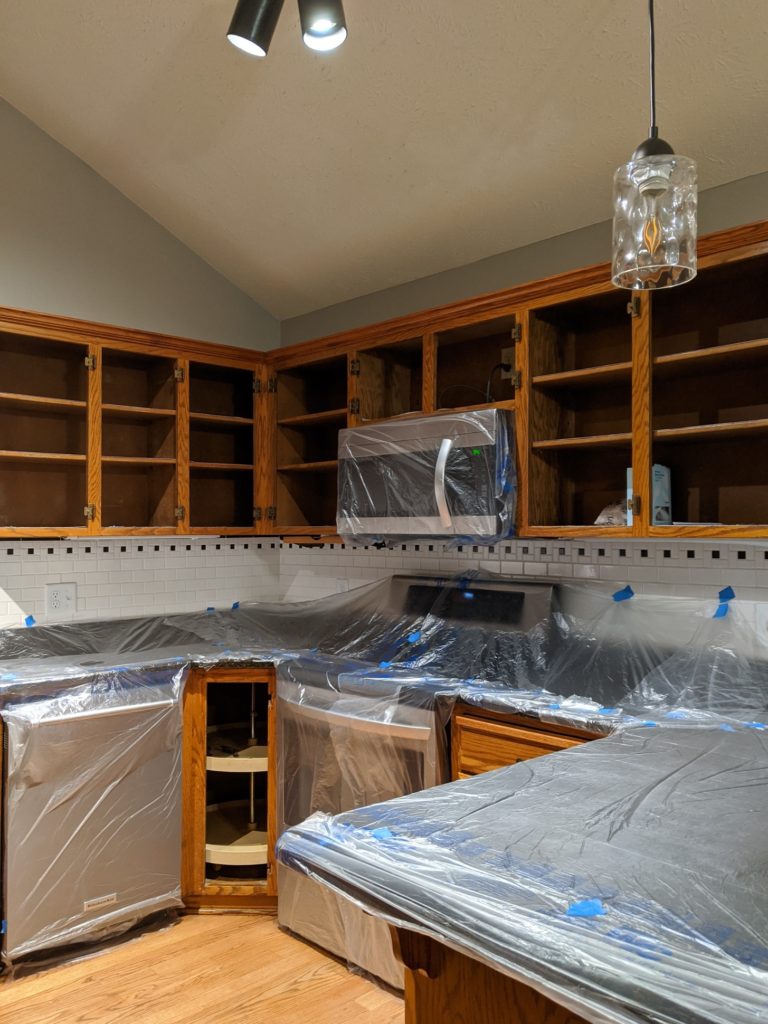
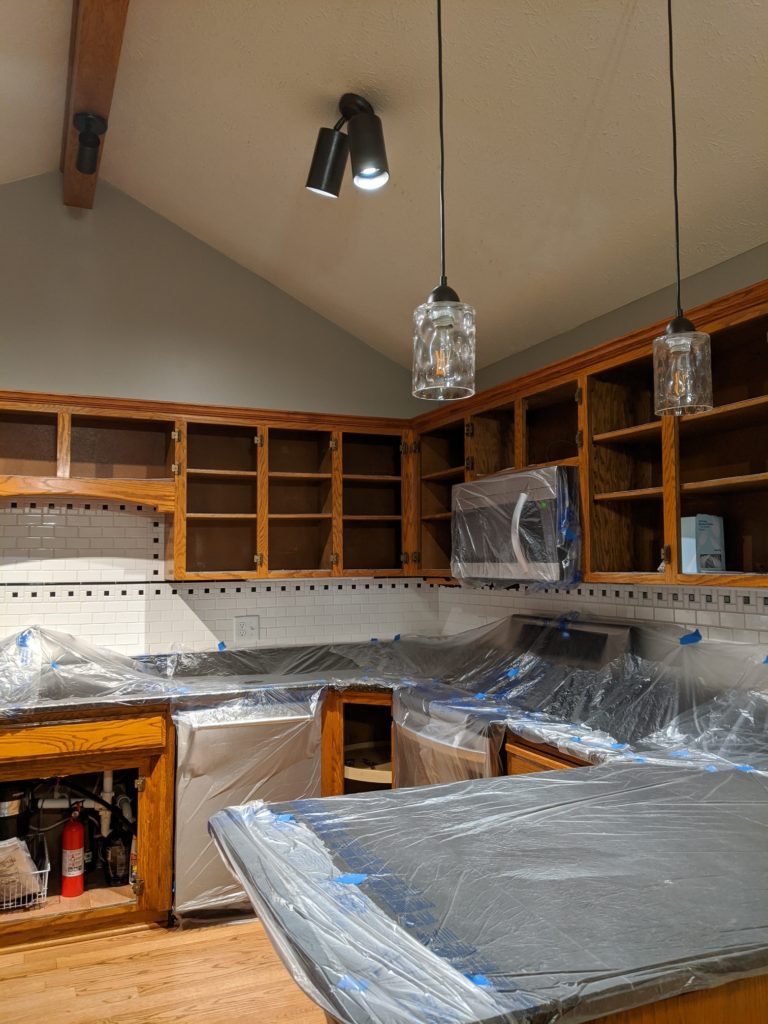
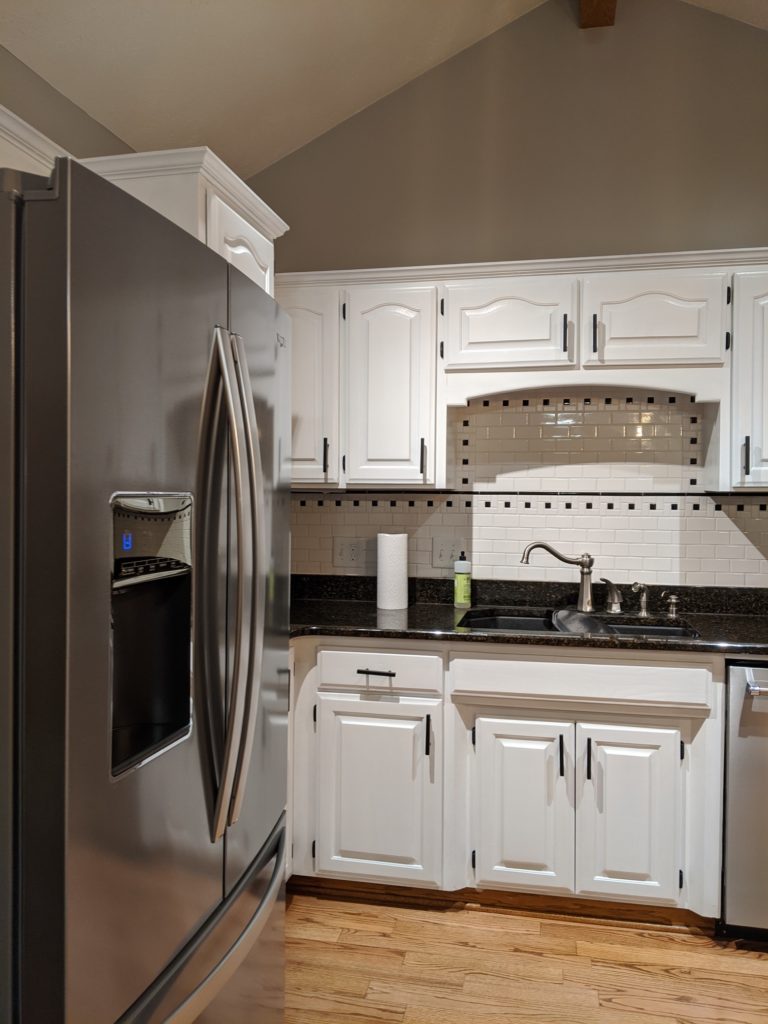
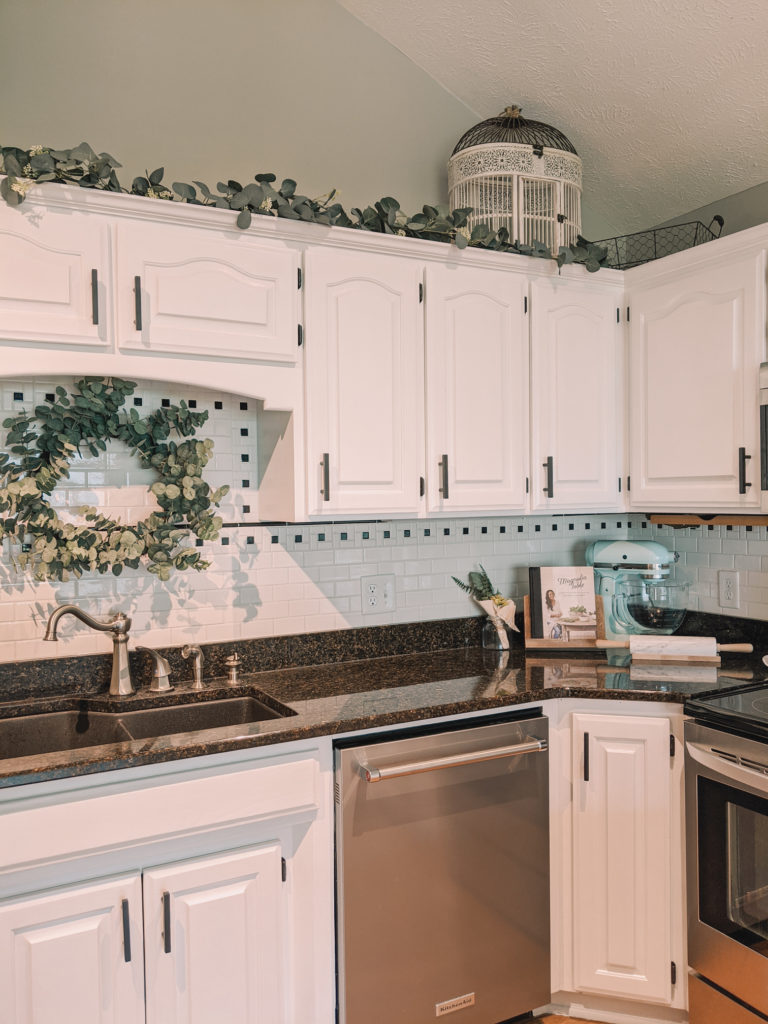
I’ll take you through all the steps and share the exact tools and items we used to completely transform our kitchen from this:
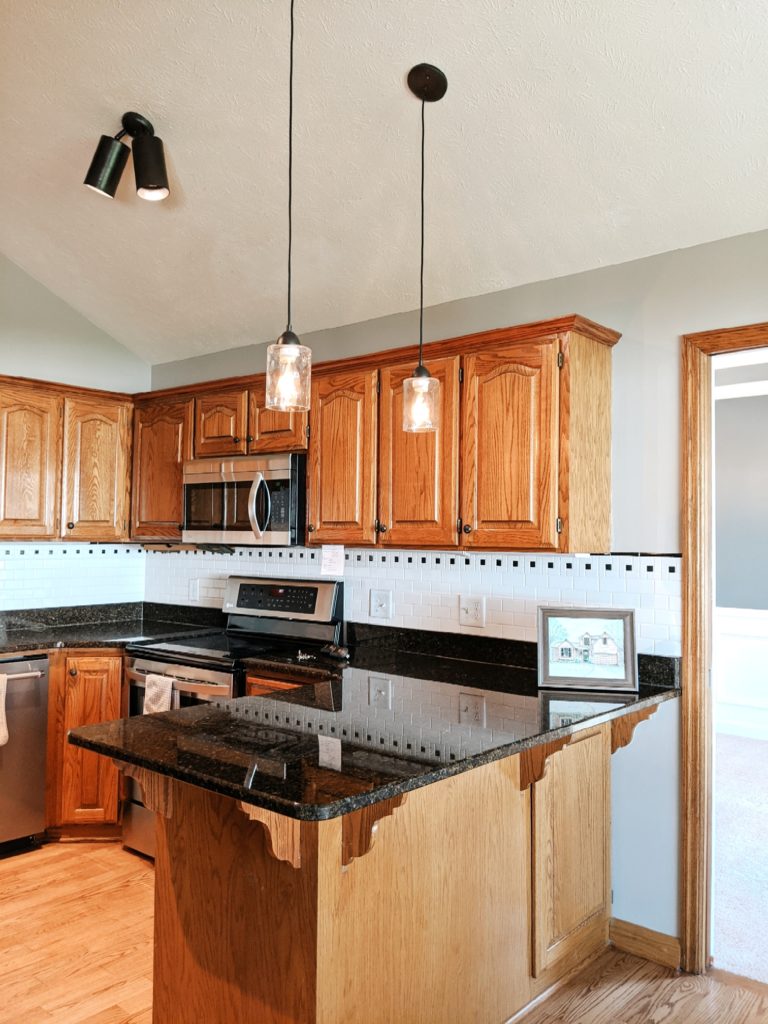
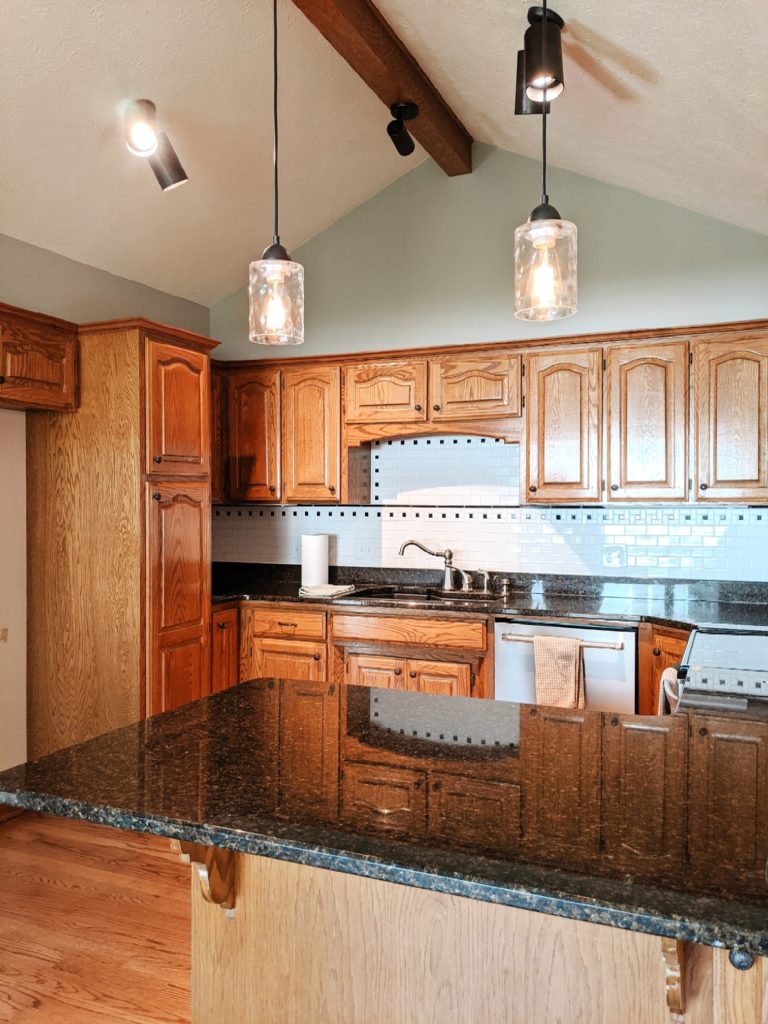
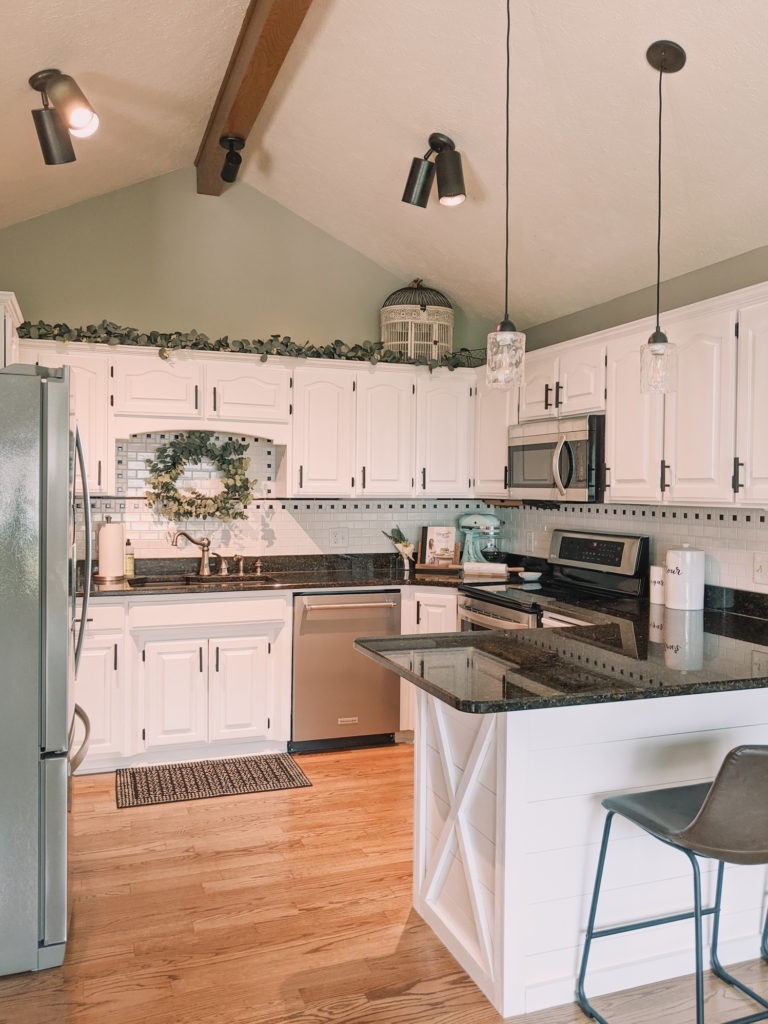
to this!
Before we dive in, I want to preface with a bit of advice. You’ll want to decide which parts of the kitchen matter most to you as far as look, design, and functionality goes. For me, I wanted the cabinets and island/bar area to stand out most so we focused heavily on those areas, ensuring that our chosen materials and process gave us the exact look we were hoping to achieve. For others, it may be the back splash, or the floors, or appliances, etc. Determine these parts of the kitchen you want to focus on most and be sure to tackle them first. It helps you have a focus, and makes achieving your overall goal seem not as daunting! Especially if you only have the time or resources to tackle one part now and the rest later.
*Disclaimer: this post does contain affiliate links which I may receive a commission for if used at no additional cost to you. Read more about my advertising policy here.
Now, let’s dive in!
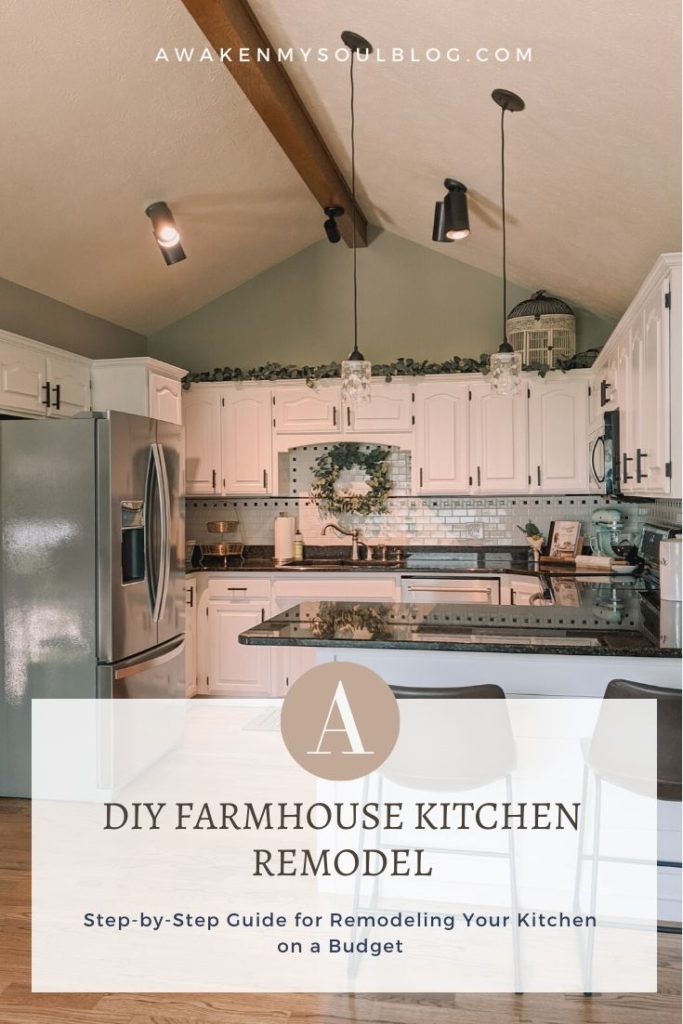
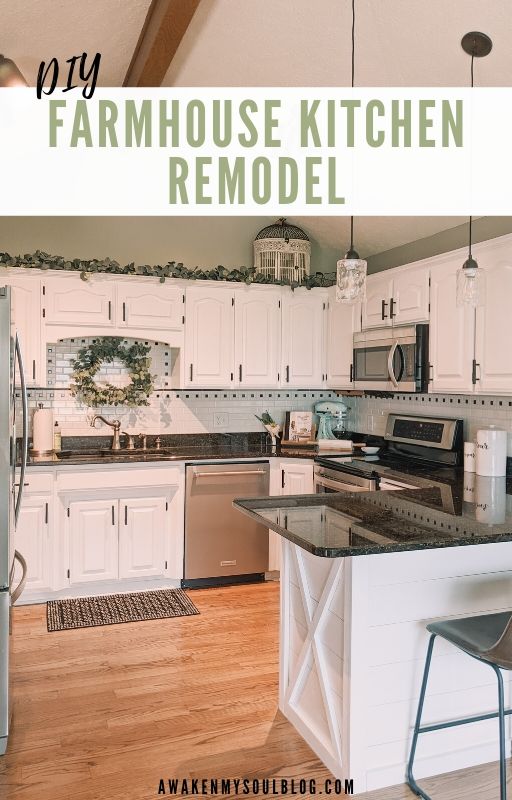
DIY KITCHEN REMODEL
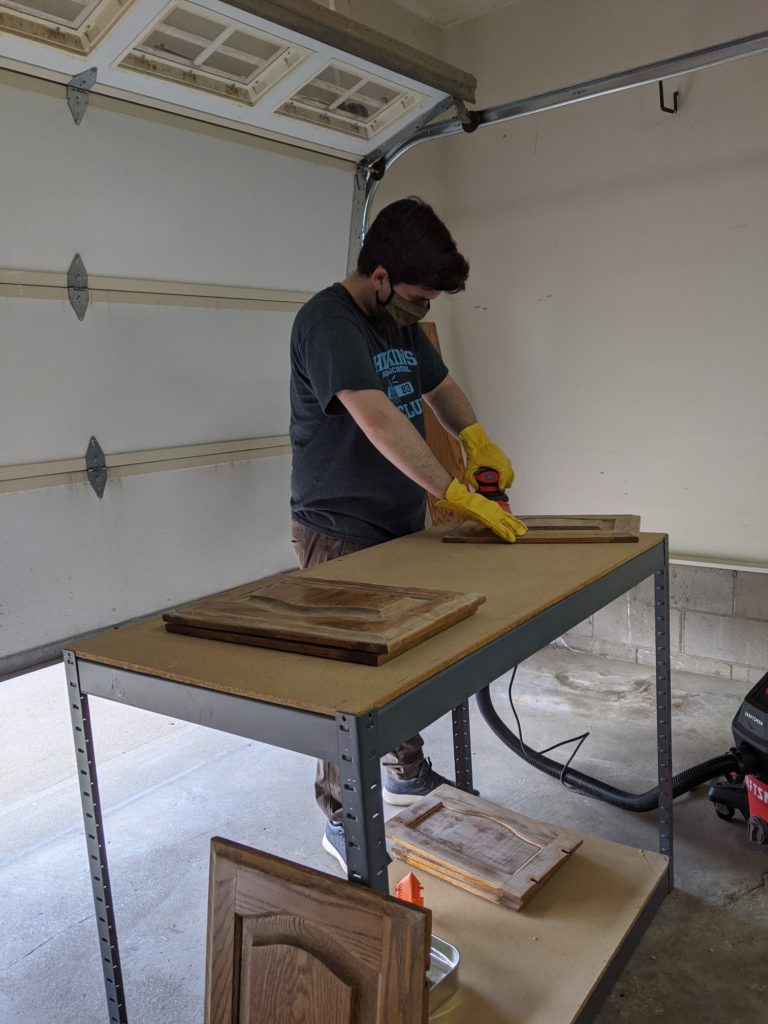
The first thing we did to start our kitchen remodel was remove all the cabinet doors from our kitchen and cover our appliances with some basic painter’s plastic. We created a work space in our garage with some industrial tables set up and boxes all around the floor for makeshift tables. We don’t have any kind of special workspace designated in the garage quite yet, so we made do with what we had and it worked well!
Remodel the Kitchen Cabinet Doors
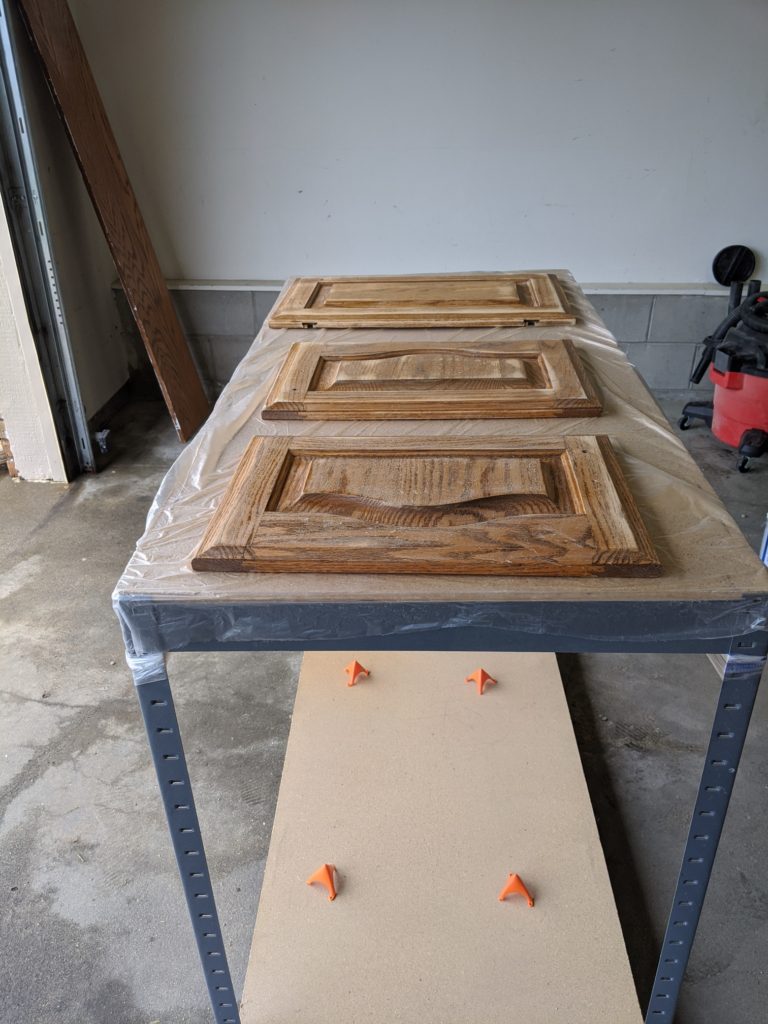
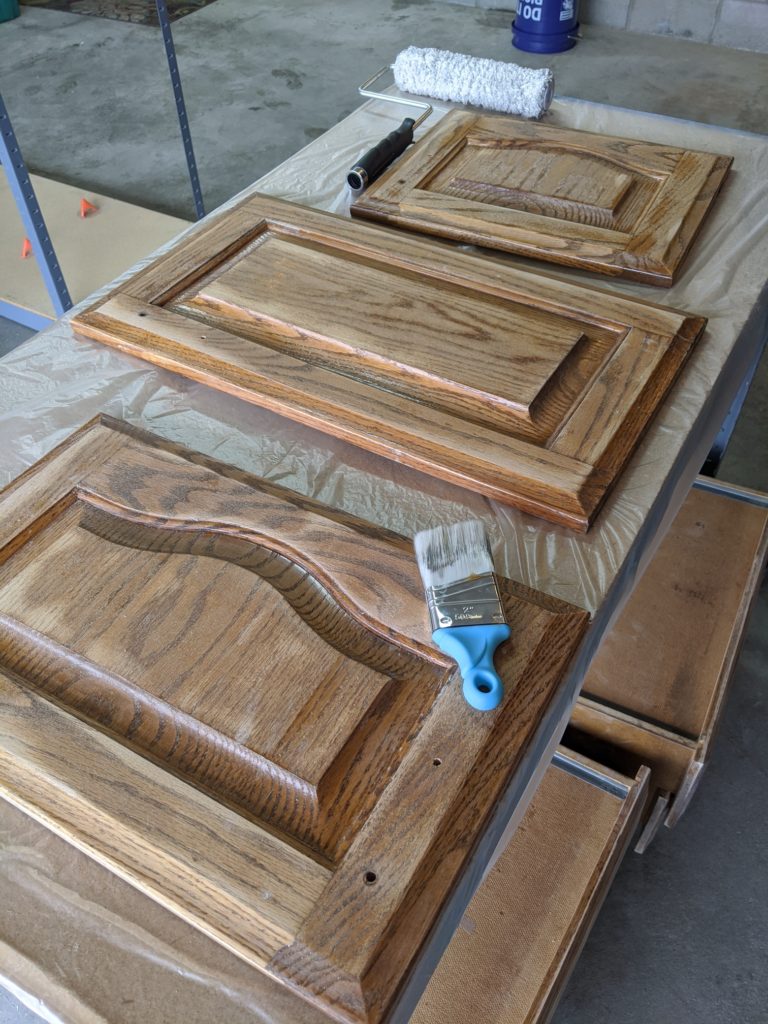
Step One: Sanding + Prepping
For us, the doors were the first thing we tackled since we knew it was going to take a lot of time and work. We sanded each one down individually – my husband used an Orbital Sander (which saved us SO much time) and then I went in with just some basic sandpaper in the grooves and parts where the tool couldn’t get to. This is definitely the most tedious part, so be prepared for it to take a good part of a whole day just for this step.
We also knew at this point that we wanted new handles so we removed all of the old ones and drilled new holes to fit our new hardware. The prior knobs only required one hole whereas our new handles required two, so we had to manually measure out and drill new holes so that the new handles would fit. We decided to do this BEFORE painting, to avoid any cracking/ damage to the paint.
Tools used for this step:
As mentioned above, we used an orbital sander to sand down each door. You could do the entire project with just some basic sandpaper BUT it will take more time. If you’re on a budget though, this is definitely the route to go and it will still work out just fine! Additionally, my husband used his porter cable drill to drill all the holes, but you could manually do this step as well.

Step Two: Prime & Paint
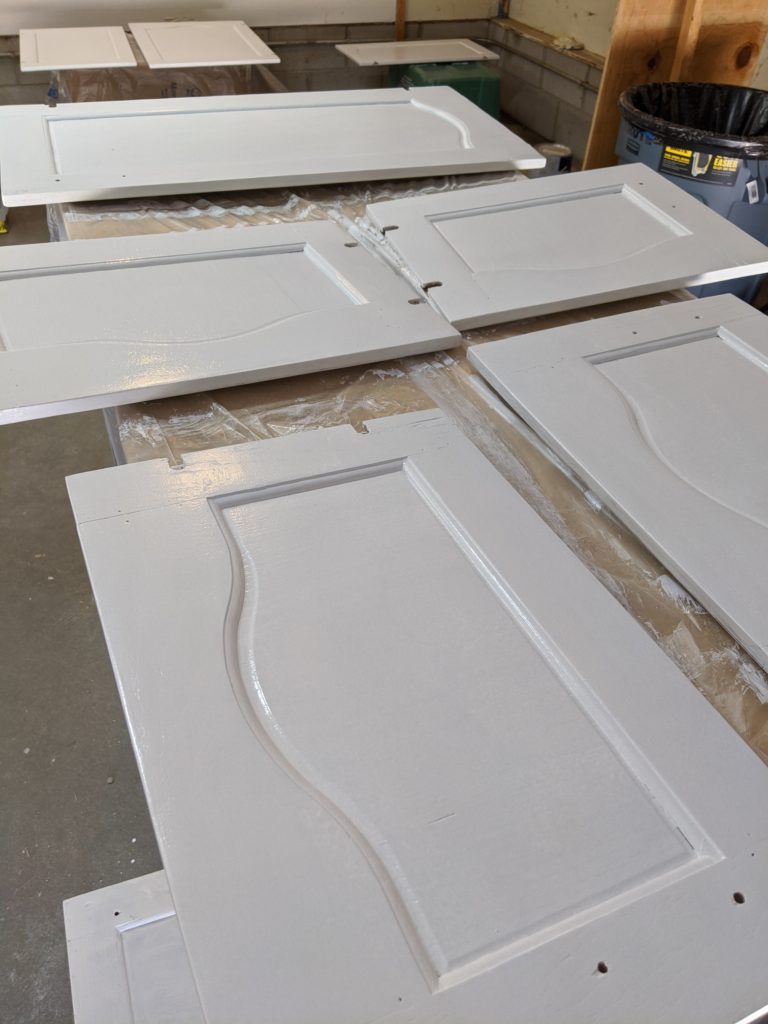
Next, we painted two coats of binding primer on each individual door. We laid each door out on all our makeshift tables and started painting. Once we had finished the first coat on all of them, the ones we had started with ended up being dry enough for us to go back through and complete the second coat. After that was dry, we flipped them all over and repeated our 2-coat priming process. This was also very tedious but the extra coats is worth it for durability, I promise! The shape of our cabinet doors required us to go in with a hand brush to get in the grooves, but most of the flat surfaces were easily painted with just a roller brush!
After they were all primed, we let them dry overnight before going in with our chosen ultra-white cabinet paint. The process for this step was the same as the primer. Two coats on each side (some required three coats, it’s all just based on your judgement) and then left to dry overnight! These two steps alone took 2-3 days.
Tools used for this step:
We only needed 1 gallon of bonding primer and 1 gallon of ultra white cabinet paint. You can do this project without “cabinet” paint to save some money but the rep at Lowe’s recommended this to us for long-lasting results. In our opinion, it’s worth the extra few bucks! Alongside that, we just used some basic paint brushes, rollers, and a painters tray.
Remodel the Kitchen Cabinet Frames
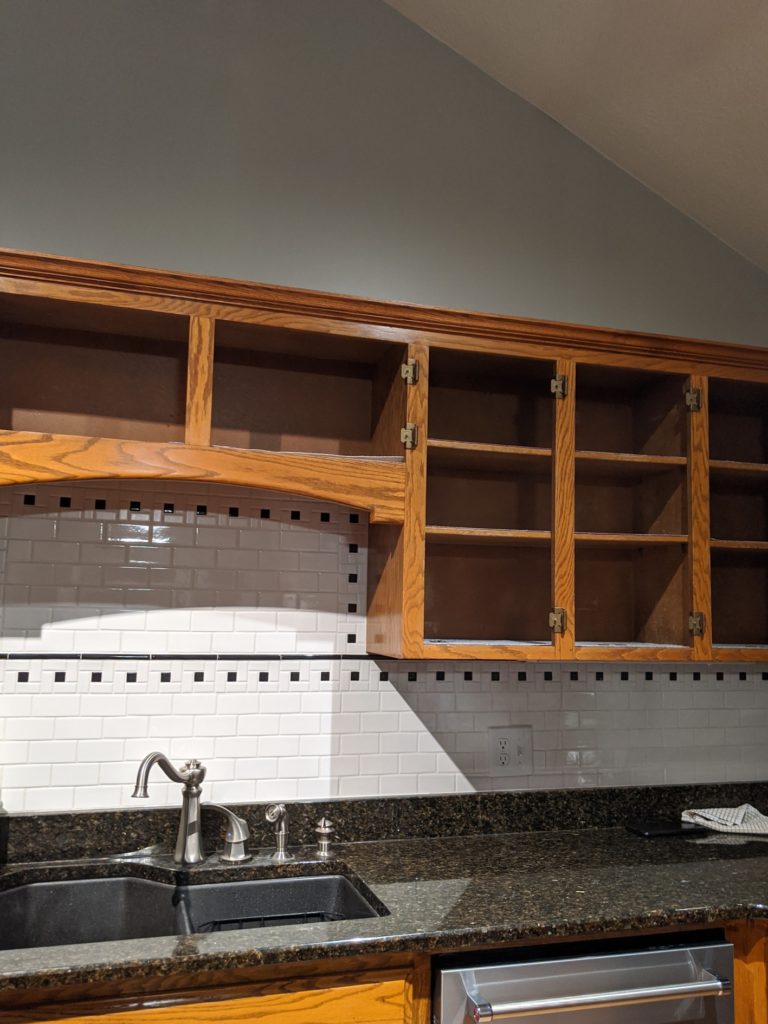
Step One: Sanding & Prepping
The steps for the inside frame are going to be very similar to the steps we took for the cabinet doors. We sanded down all exposed wood and removed the door hinges so that we could spray-paint them black to match our new handles. Most of this step was done with just basic sandpaper since the orbital sanding tool was too large to get into the nooks.
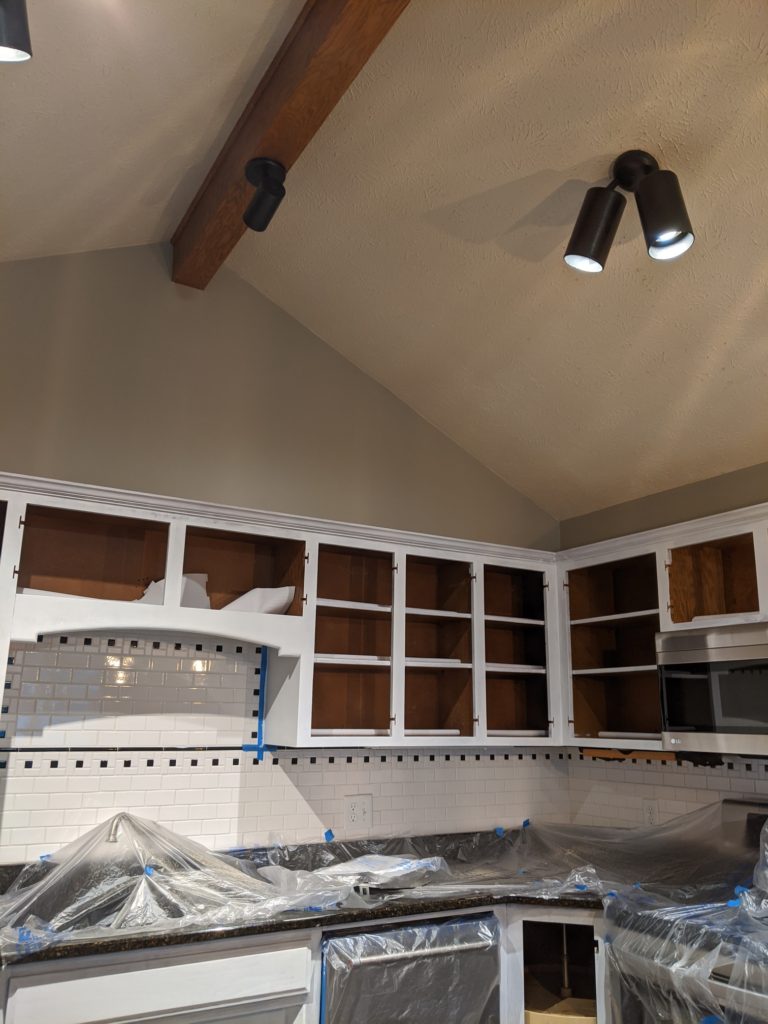
Step Two: Prime & Paint
Again, same steps here with two coats of primer, and two coats of paint. On some of the larger surface areas like the side cabinet near the fridge and pantry, we had to do three coats. We made sure to tape up our appliances and take our time on those tighter spots so that the finish was clean and seamless! It took about 3-4 days for these two steps because of the multiple coats and tighter spaces.
To save some money, we decided to spray paint the original hinges black instead of purchasing new ones. This was super quick and easy. We laid them all out on a piece of cardboard and painted about 3-4 coats front and back (letting them dry in between coats). One thing I will say is, we have noticed some of the brass showing through already after about a month of this project being completed. That’s just the reality of spray paint on a high-friction piece like hinges. But it only shows on a small part of them and is not that noticeable, so we don’t mind.
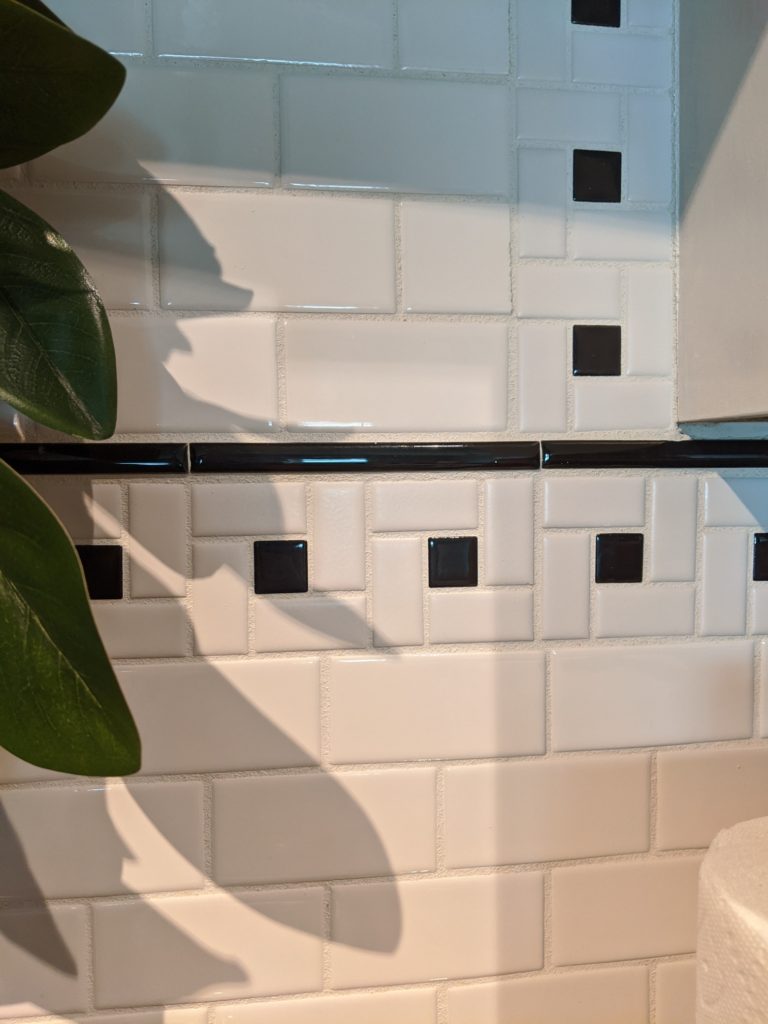

Side note: we decided to keep the original back splash because it goes with the black & white theme we were aiming for. If you are planning to replace yours, this would be the step to tackle that project as well!
Tools used for this step:
Step Three: Add New Hardware & Hang Doors
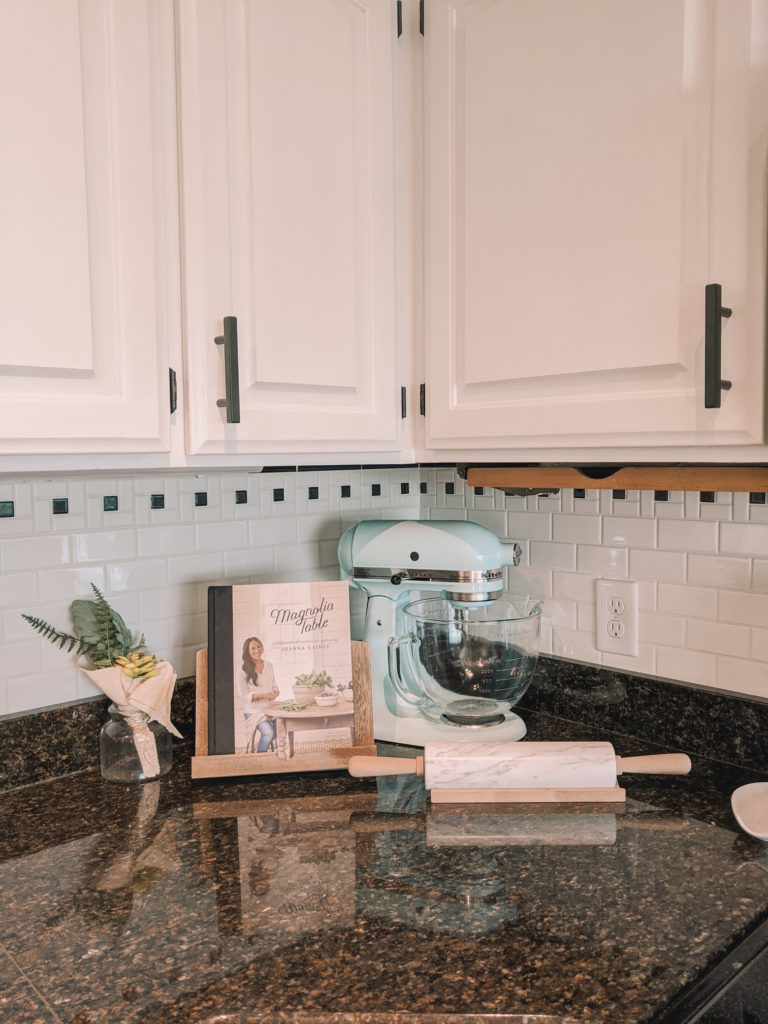
This step is one of the easiest and definitely feels the most rewarding. It feels good to see it all start to come together! We also installed our new appliances (Fridge) and added a few decor pieces here and there. We loved the original lighting so we opted to keep those as well with the exception of the under cabinet lights which we replaced with some nice new LED ones! I will link similar items below.
Appliances, hardware & decor ideas (some seen here):
Remodel the Island/Bar Area
Step One: Design & Gathering Materials
Designing this shiplap island/bar was my favorite part of this whole kitchen remodel project. I knew this was the perfect piece to add the Farmhouse touch I was looking for and it was a LOT easier than you would think! After curating my vision board for this part on Pinterest, my husband and I sat down and measured the space to determine how many pieces of wood we would need and how thick we wanted each piece to be.
We opted to purchase pieces of 2×6 ft. whitewood from Lowe’s. This is the cheapest option we could find BUT the wood pieces were a little crooked and not as smooth of a finish as some higher priced wood slabs would have been. Because we were trying to stay on a budget though, we decided to go this route and it worked out just fine!
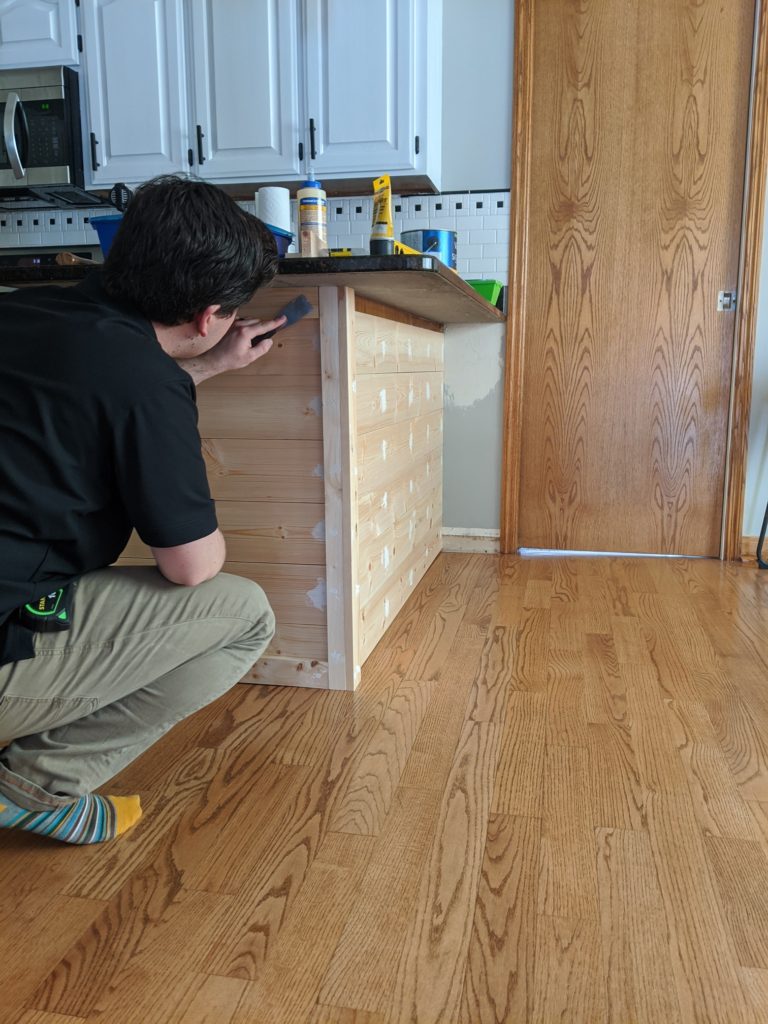
Step Two: Putting it All Together
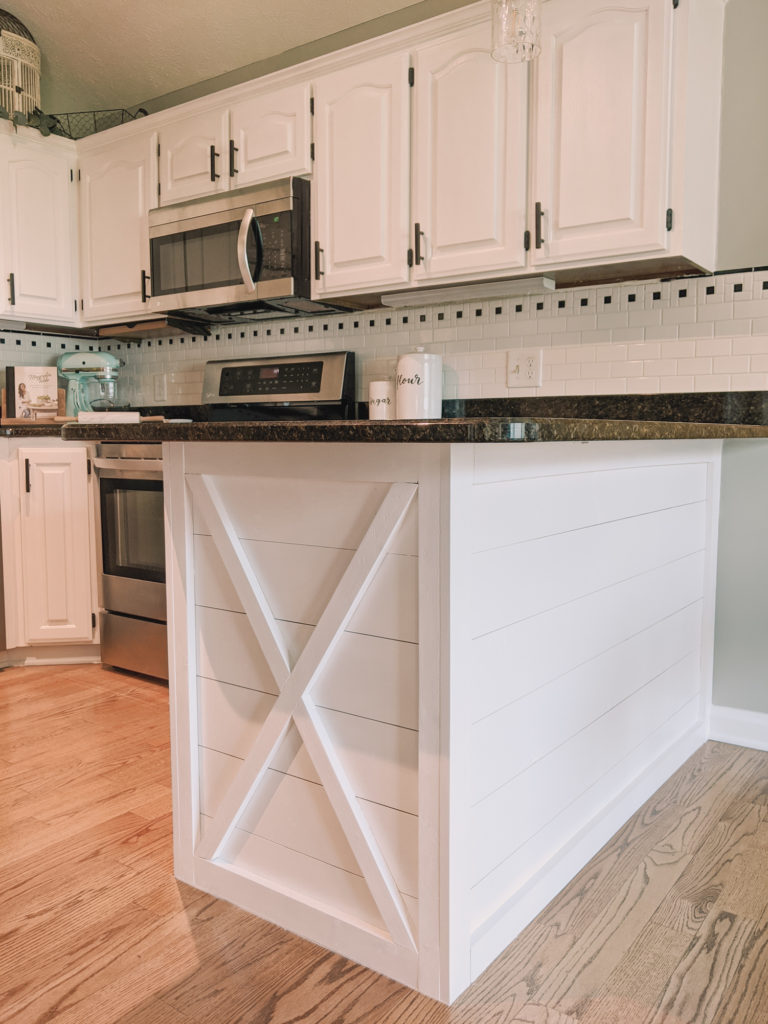
My husband used a miter saw to cut the pieces down to size (you could just manually saw them down, too). Then, he just manually nailed them onto the island. We also created a frame around the edges as shown above with thinner pieces of wood that we cut down to give it the appearance of having molding. This gave it a clean finish and helped achieve that “box” look we were going for!
We also covered the nails with wood filler for a smoother finish before priming and painting two coats just as we did with the rest of the kitchen. For the “X” design, we just measured & cut down pieces using the miter saw again before nailing them into place and repeating the above steps. To finish, we caulked any open gaps and edges to close it all off!
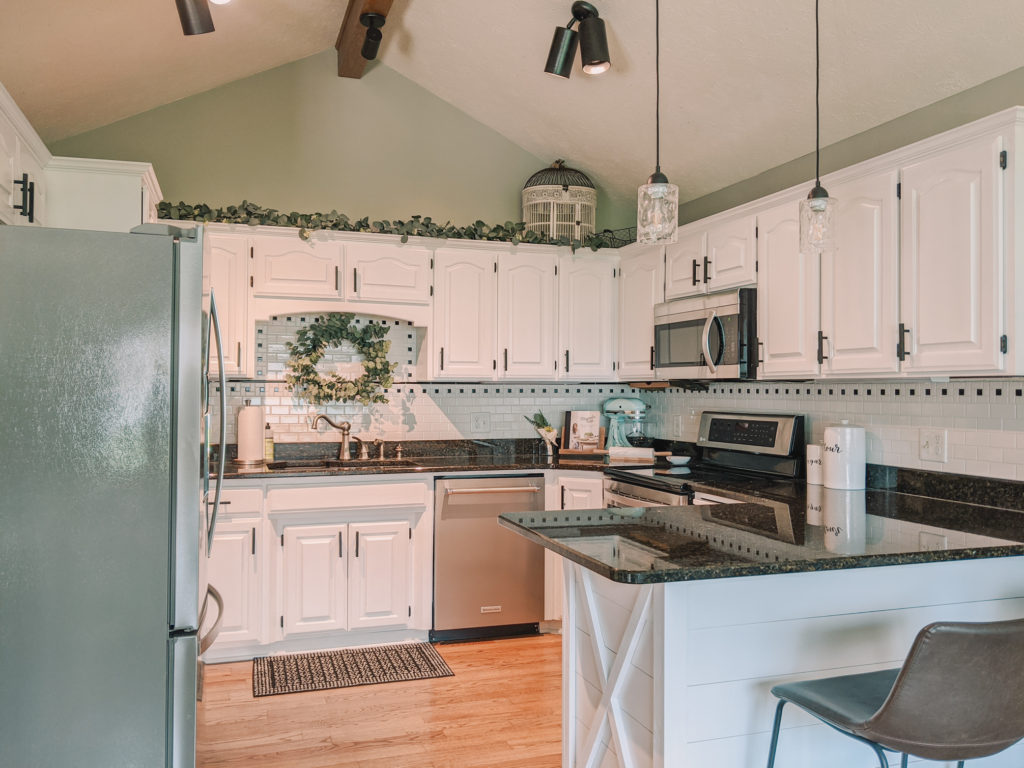
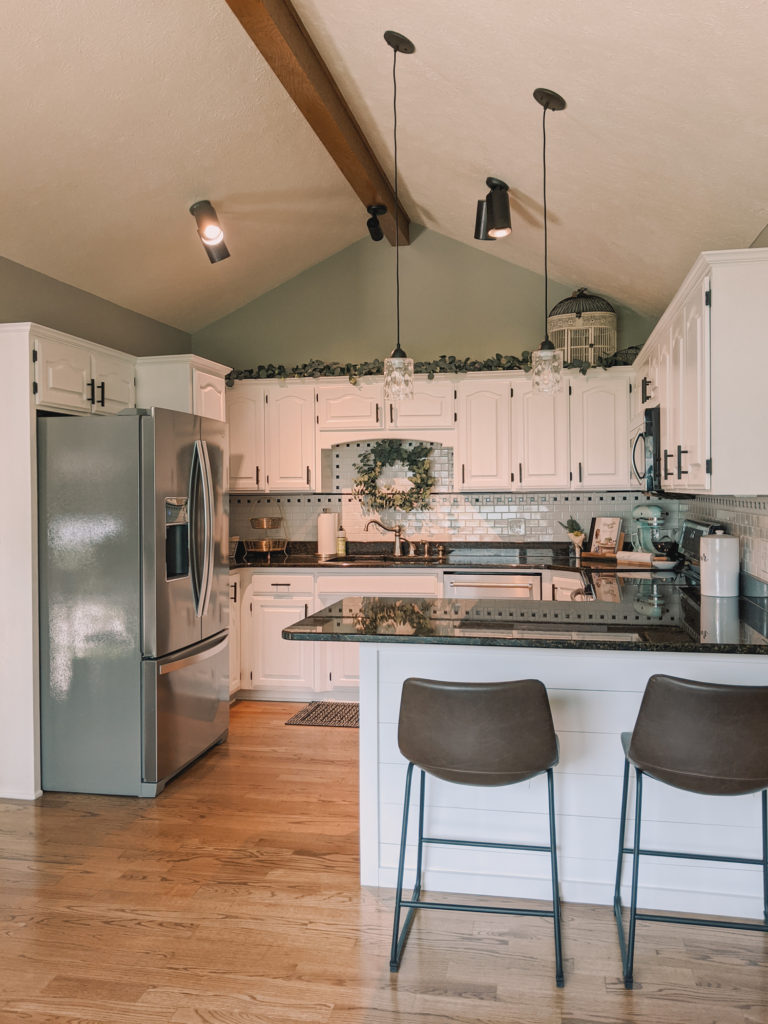
The remodeled island/bar is definitely my favorite part of this entire project. It completely brought the entire space together and created the rustic touch I was hoping for.
Tools used for this step:
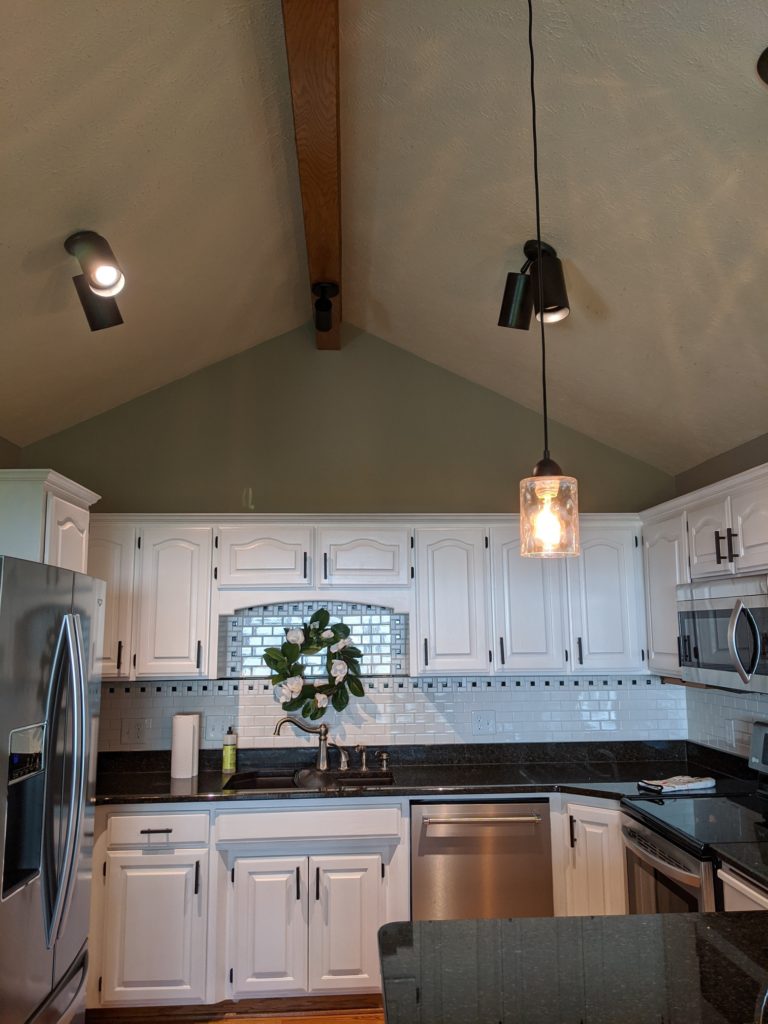
The Finished Product: Our Farmhouse Kitchen Remodel
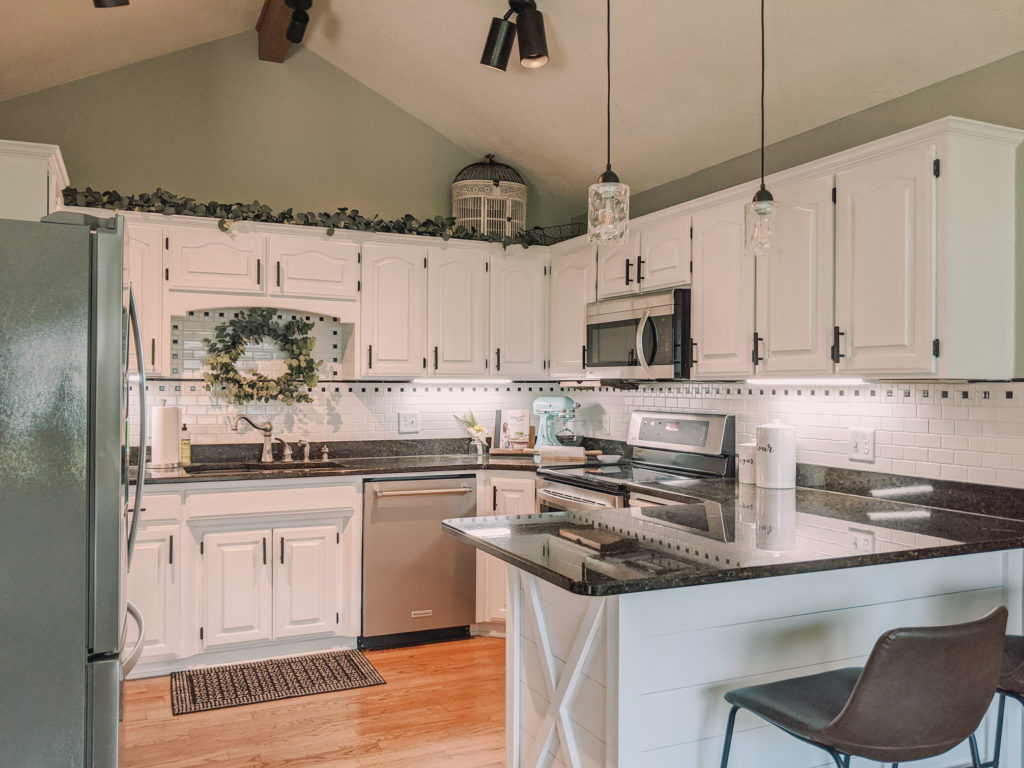
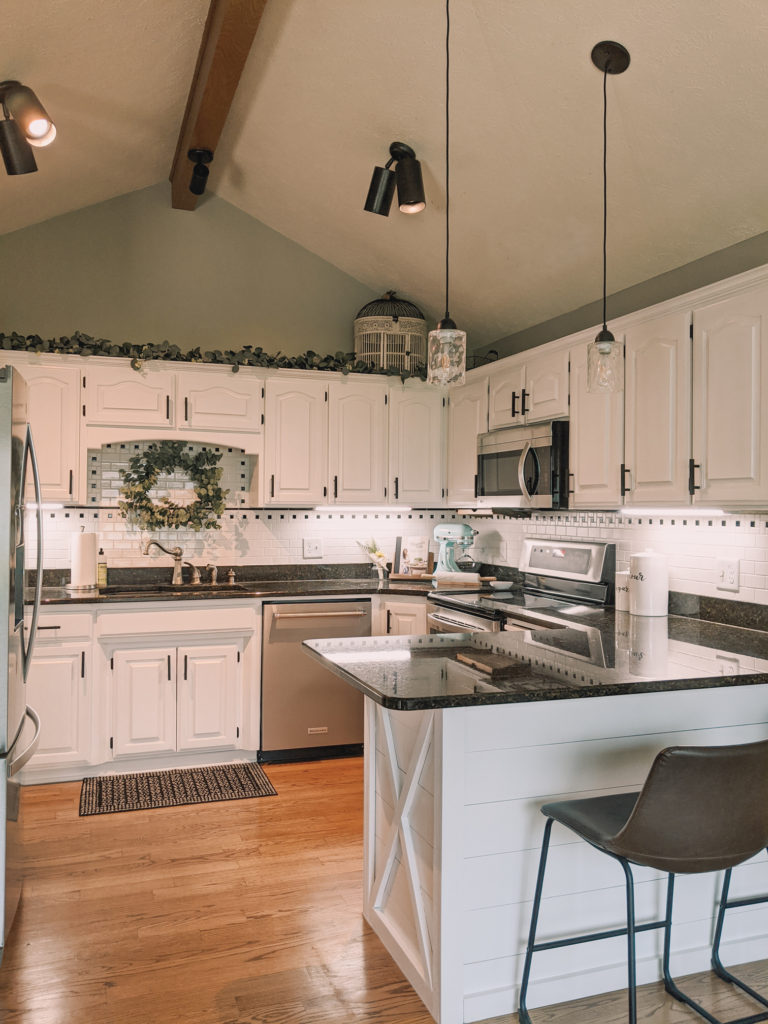
What do you think of the finished product? Let me know in the comments below and feel free to share your own kitchen remodel stories too! We had SO much fun with this DIY Farmhouse kitchen remodel and even though it was a LOT of work, it was so worth it. All of my Pinterest kitchen dreams came true with a little bit of paint, wood, tools, and a whole lot of creativity! We can’t wait to dive into our next project…stay tuned and be sure to check out my other Home blog posts for more DIY inspiration!


")
10 Comments
I love your kitchen! What wall color is that?
Thank you so much! The wall color is Mindful Gray by Sherwin Williams, it looks a little greenish I have noticed in some sunlights but it’s a light grey and very beautiful!
I was SO impressed with how quickly you + James did this reno (I watched on Instagram stories!). It is absolutely gorgeous!
Thank you so much friend! It was a very rewarding project! 🙂
Amazing makeover, Brittney!! I loved this post
Thank you So much!! I’m glad you enjoyed it 🙂
I love this!!! I’m getting inspired because I love the farmhouse theme. I pinned this to my Pinterest board.
YAY! I am a sucker for farmhouse too. Thank you so much for the love!