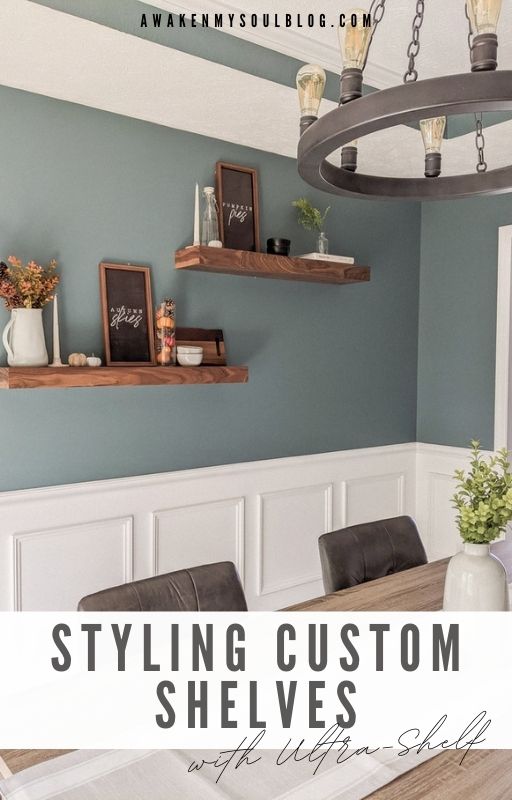
When I came across Ultra Shelf, I knew right away that they were the custom floating shelves I wanted hanging in our dining room. I contemplated the open shelving concept in our kitchen during the remodel, but settled on having it in the dining room instead so that the room would have something extra to be styled throughout the seasons. And I am SO glad we went this route!
Before we dive in, I want to give a huge shoutout to Ultra Shelf for partnering with me and gifting us a pair of custom floating shelves to bring my vision for the space to life.
Disclaimer: The product featured in this post was gifted to me in exchange for social media content. However, the opinions presented are 100% my own and 100% genuine and honest. Please refer to my advertising policy for more information.
Step One: Picking Out Your Custom Floating Shelves
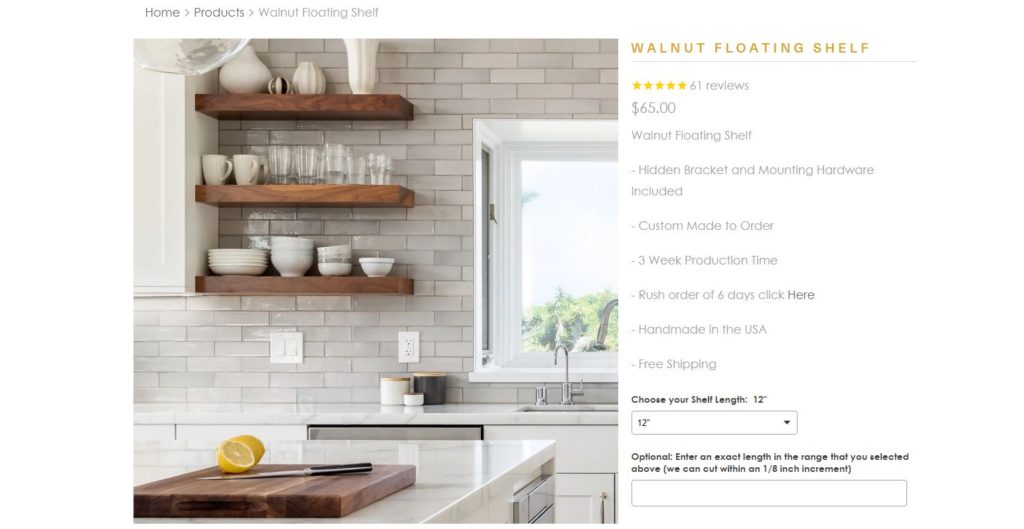
The first step in getting your custom floating shelves made is to decide what finish you are aiming for. Browse the many collections Ultra Shelf offers and get an idea for what will work best in your space.
The great thing about Ultra Shelf is that their shelves are 100% customizable. What this means is you can decide everything from the length of the shelf (to the very inch!), width, and thickness as well as multiple stain finishes.
Below is an outline of our personal product selections to give you a general idea of where to start:
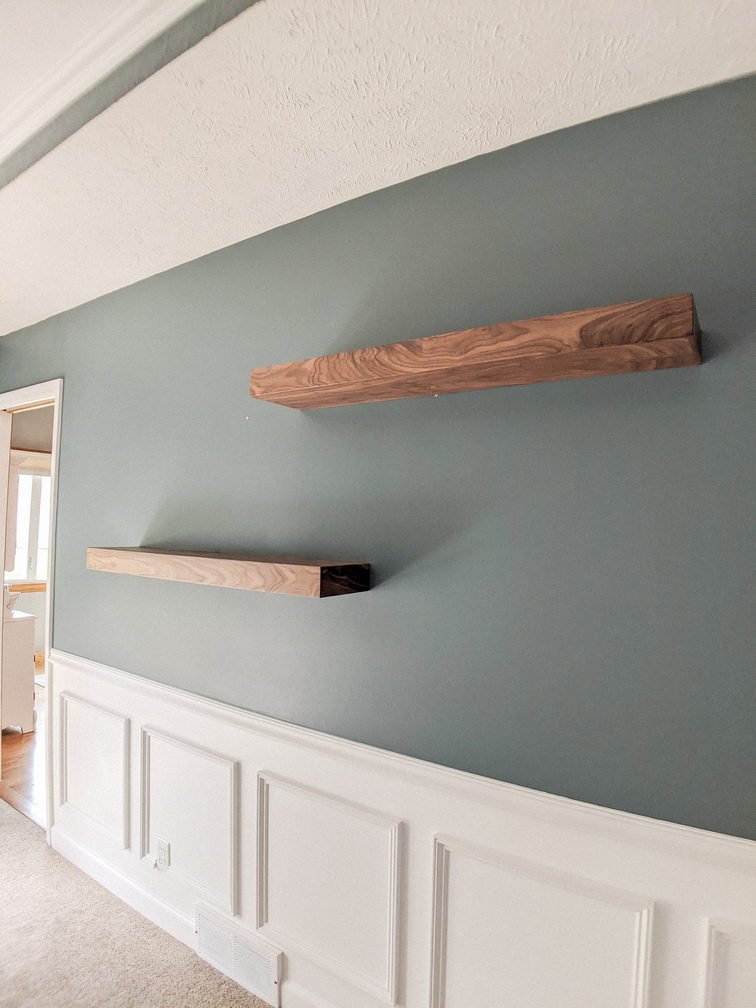
Quantity: 2
Length: 42 inches
Depth: 8 inches
Thickness: 3 inches
Wood Type: Walnut / Finish Color: Natural
Once we had them ordered, it was time to wait. But it wasn’t long before these beauties arrived at our doorstep!
Step Two: Unboxing & Prep
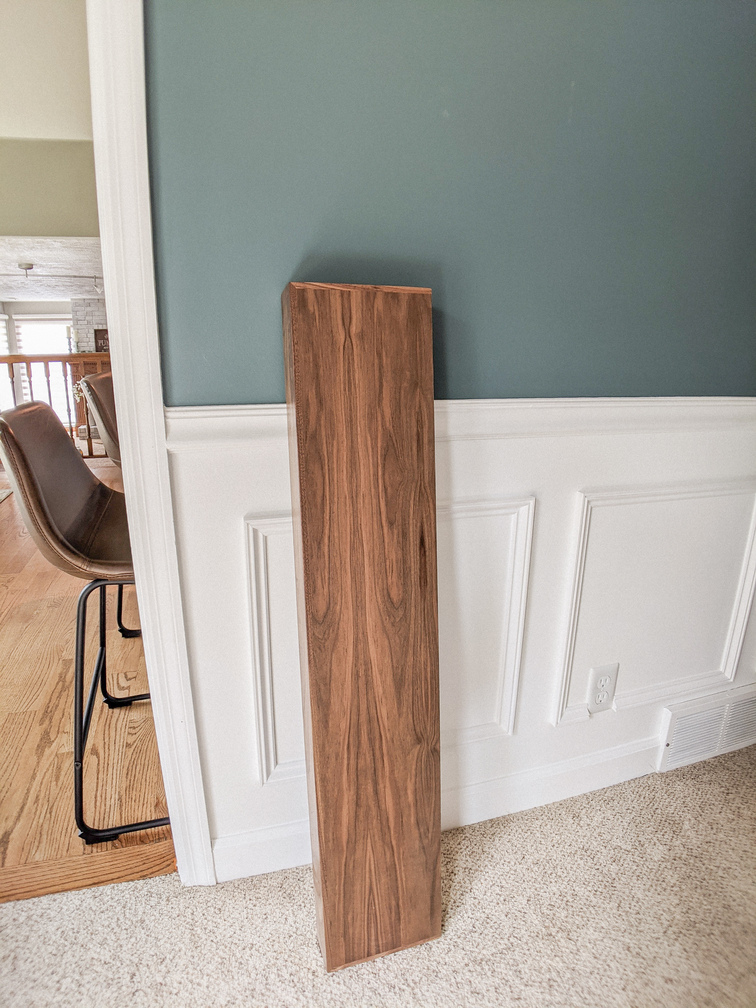
Our shelves arrived super quick and we couldn’t wait to open them up and get them hung! The shelves came with all of the hardware needed to mount (heavy duty brackets and screws).
Additional tools needed to install: electric screwdriver, measuring tape, stud finder (optional), a level, and a pencil.
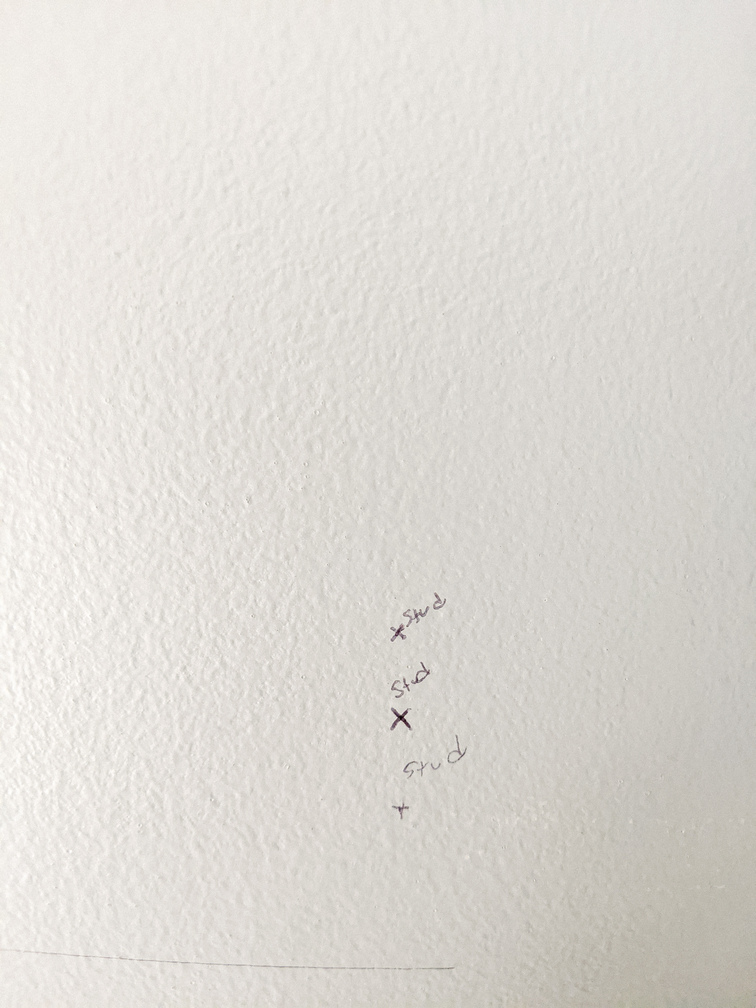
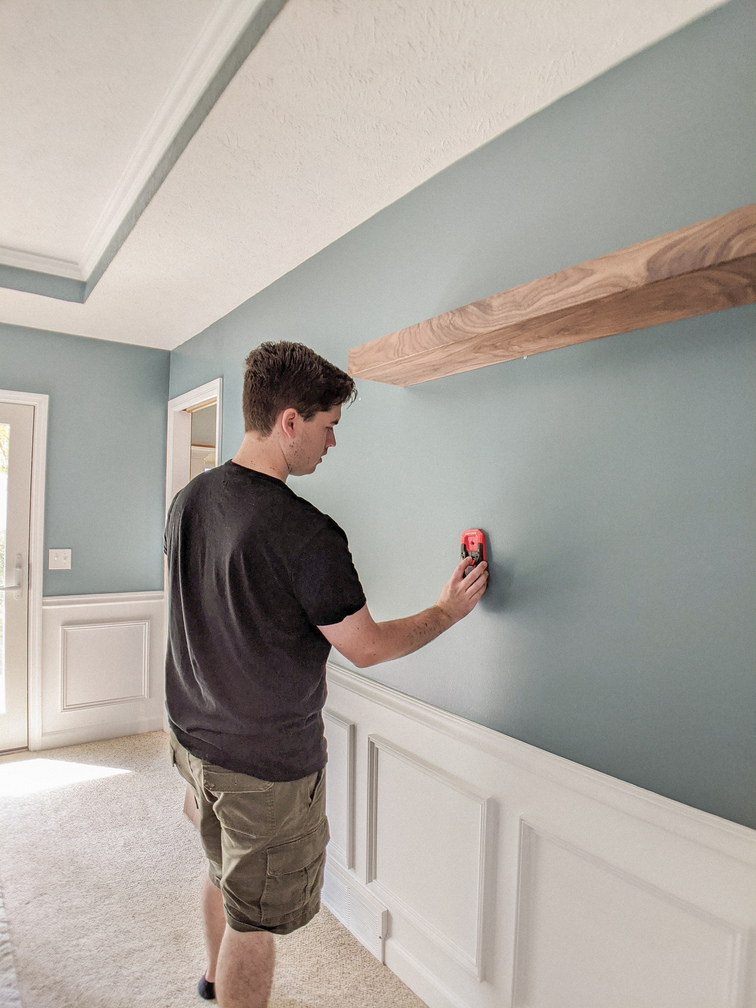
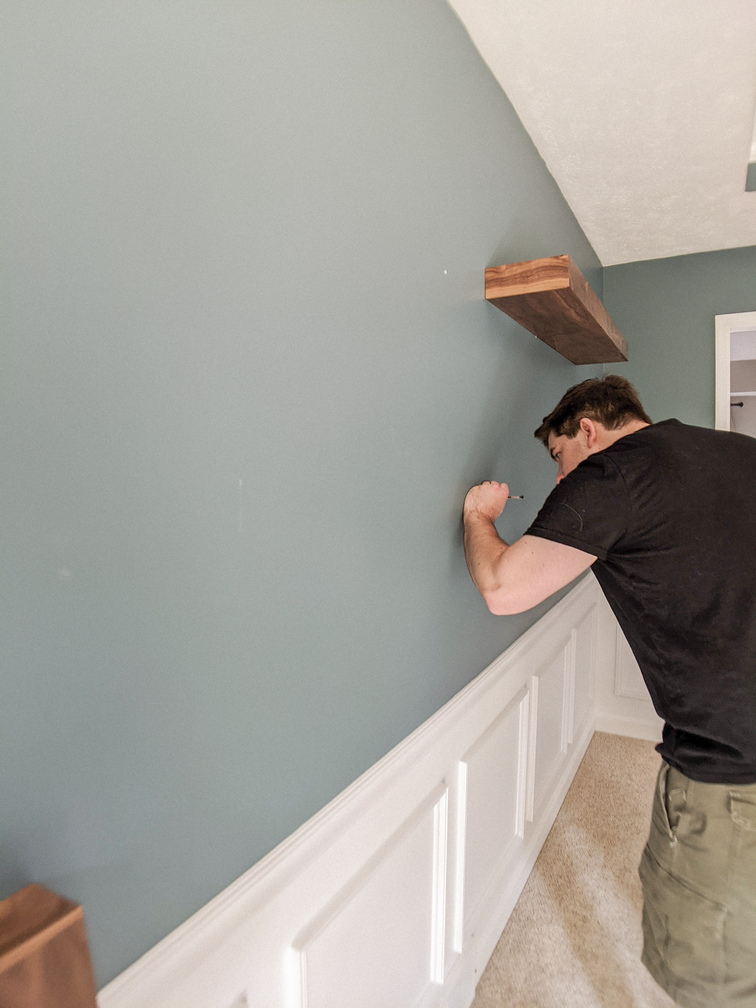
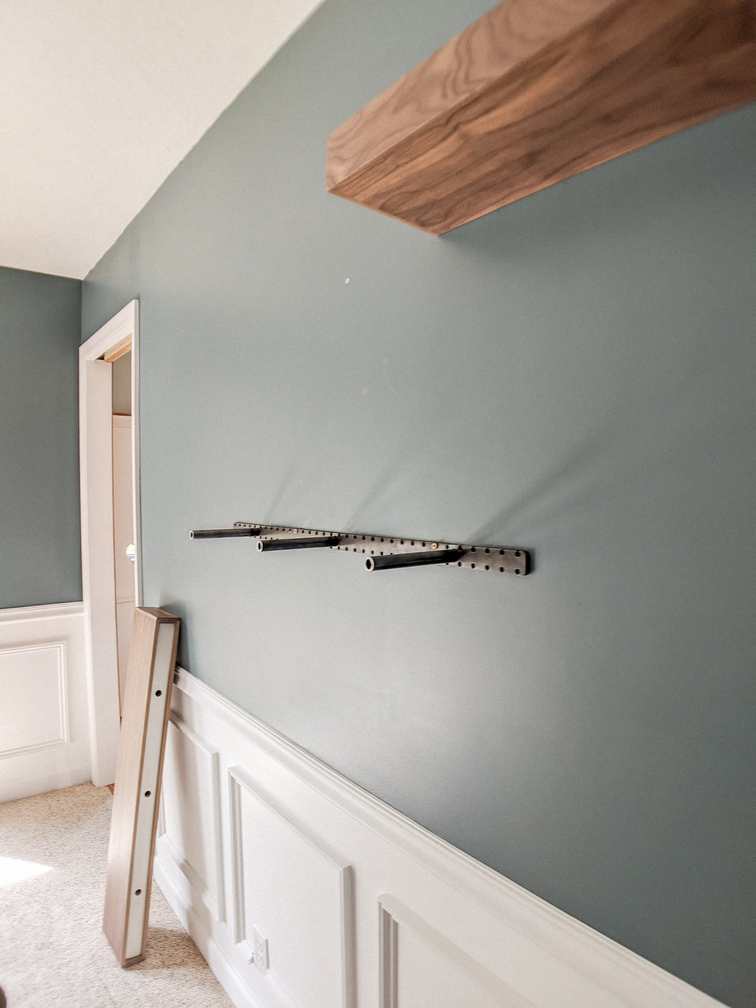
Once we had the shelves out of the box, we measured out where we wanted them on the wall and marked it with a pencil along with where the studs were. This helped keep us from drilling too many unnecessary holes in order to find the perfect placement.
Step Three: Installation
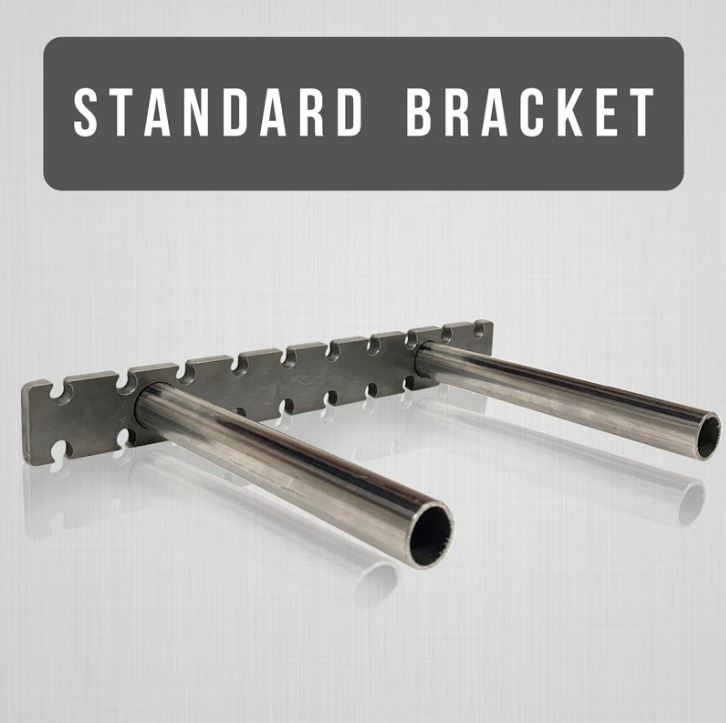
When mounting floating shelves, the hardest part is always making sure you get them drilled into a stud. Ultra Shelf solves this problem for you with their heavy duty brackets designed in a way that guarantees you will hit a stud when installing. How? They have mounting holes (as shown below) spaced 1″ apart ensuring that it can be screwed into a stud. SCORE!
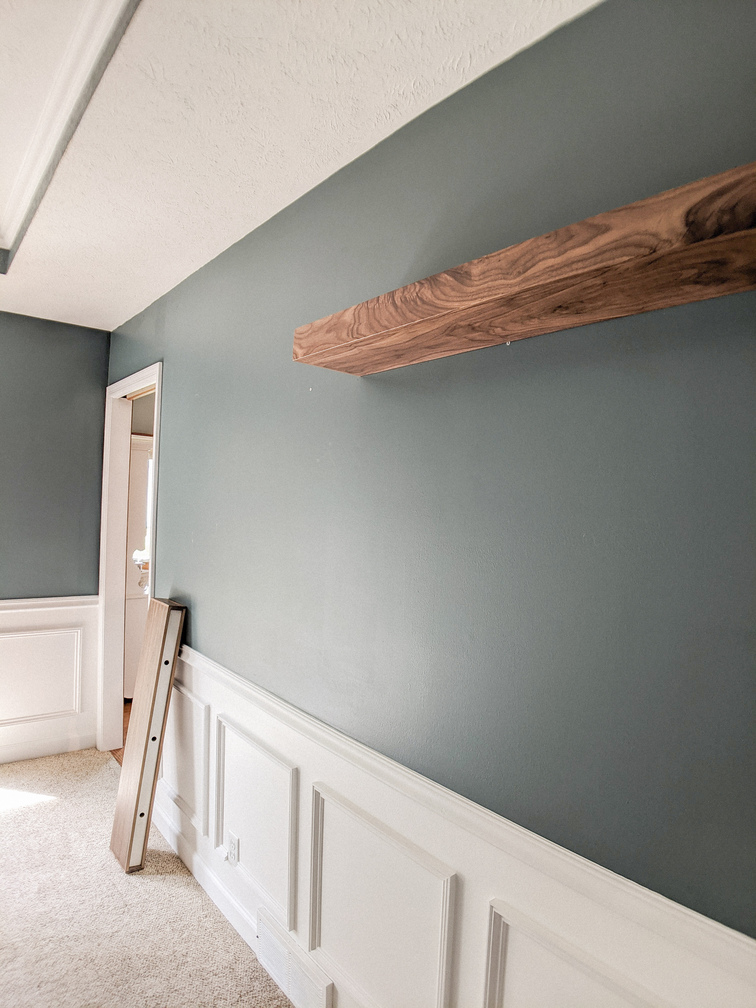
Then, once the brackets are mounted to the wall, you just slide the shelf on by matching up the holes on the shelf with the bracket arms. Seriously SO EASY. We then measured out where we wanted the second shelf and repeated the above steps.
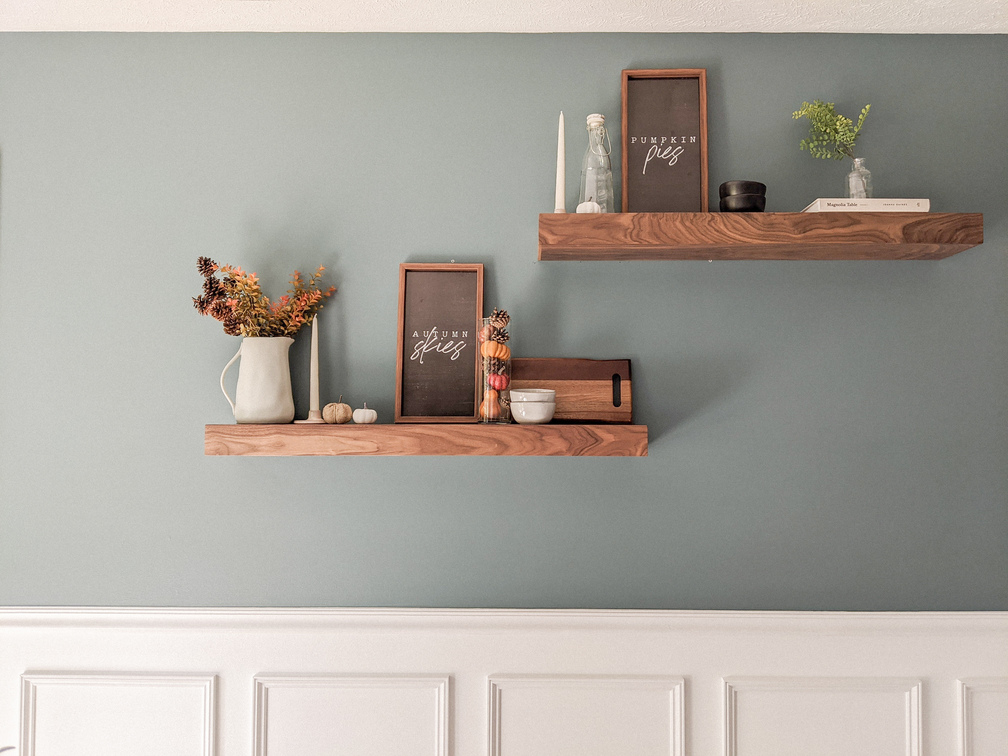
VOILA! I promise you that this process was SO easy. It took us about a half an hour to install total and my husband even pointed out that it was one of the easiest things he’s ever had to mount. Not to mention the QUALITY of these shelves…y’all – Ultra Shelf does NOT skimp out on quality. I knew from the second we opened the box that these shelves were unlike any we’d ever had before and they look so gorgeous put together.
And now, they are ready to be styled!
Step Four: Style & Enjoy!
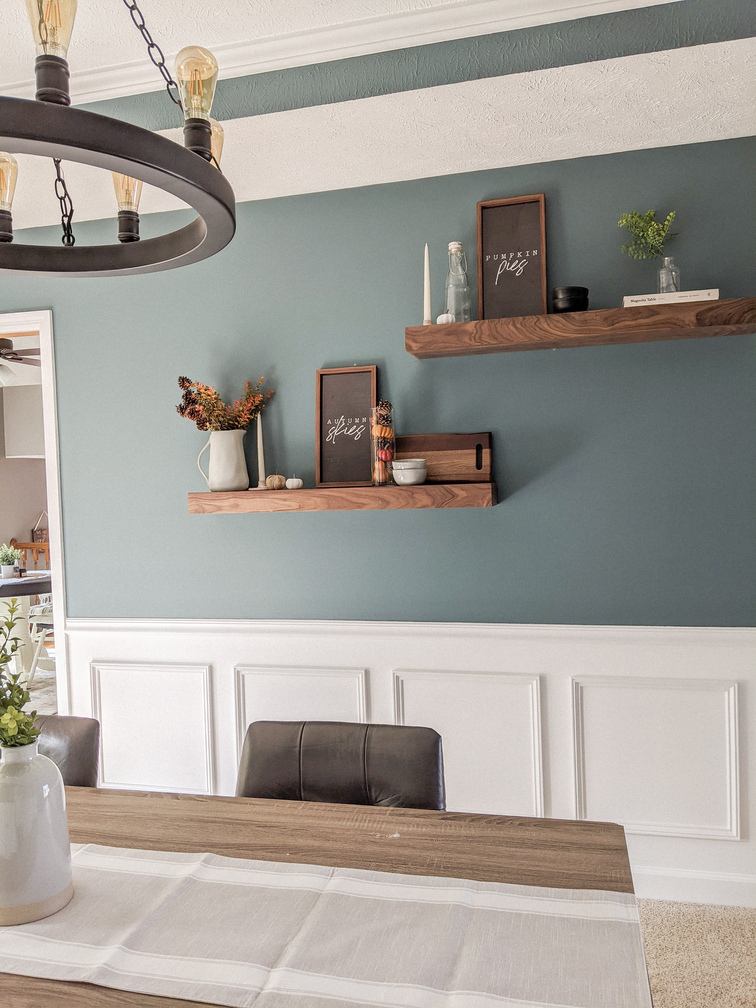
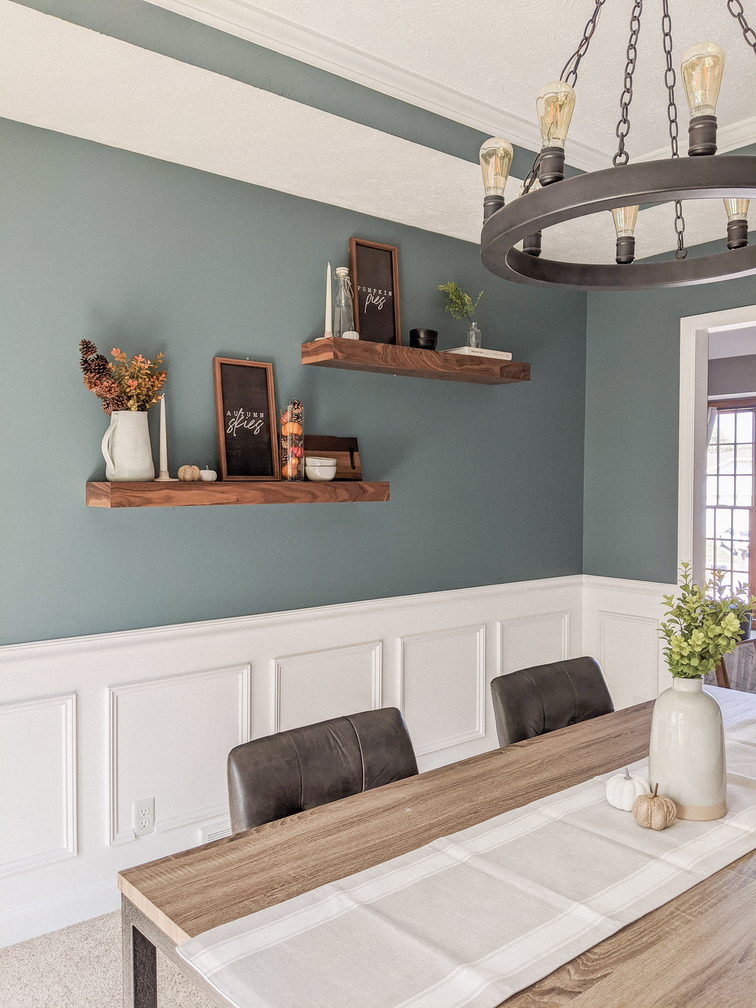
I decided to keep my vision for the decoration style of these shelves mostly minimalistic with a hint of functionality so that they can be styled differently throughout the seasons. With this in mind, I decorated them mostly with fall-inspired farmhouse chic decor pieces but threw in a few entertaining bowls, a charcuterie board, drink pitcher, and a cookbook!
I love how they turned out, just in time for Fall!
These custom floating shelves are worth every single penny. They are handmade in the USA, made to order, and designed with the finest details in mind. They look and feel like luxury shelves and are the perfect addition to any blank space!
To watch a quick video tutorial on the installation and styling of these shelves, head to my Instagram IGTV linked below!
I hope you enjoyed this step-by-step installation and styling guide! Head over to Ultra Shelf now to pick out your custom floating shelves and happy decorating!


")
4 Comments
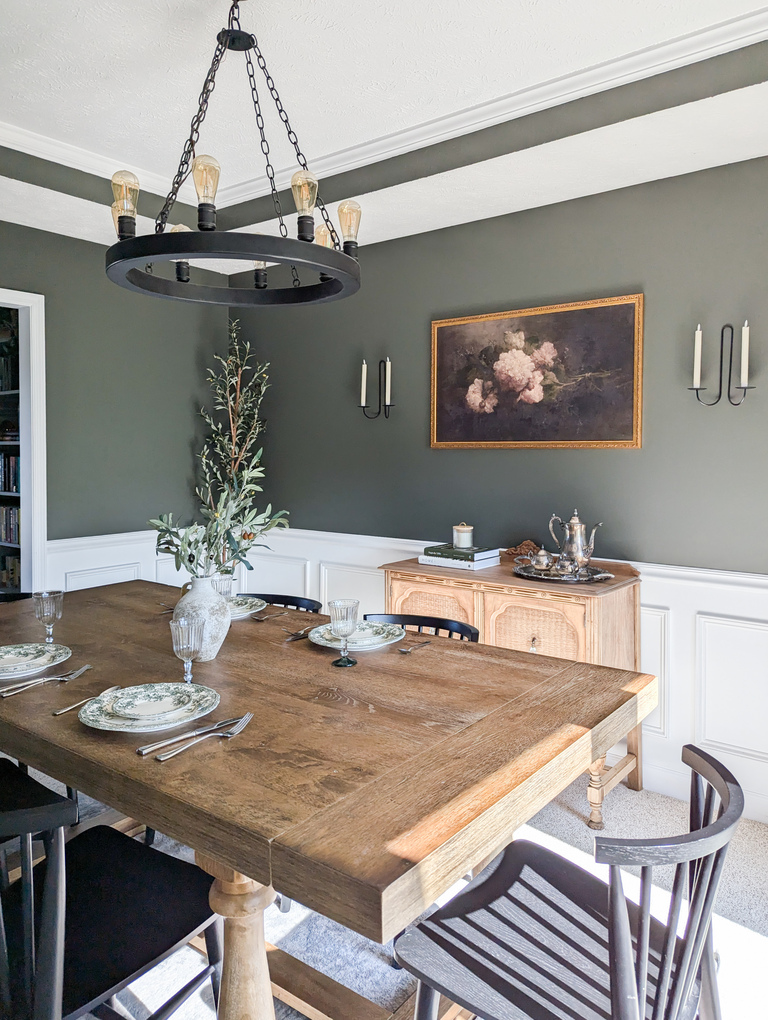
The white strip on the wall underneath the crown molding…is that paint or a wooden strip/other material? We are wanting to recreate this look! Love it!
Hi Kimberly! I am so glad you like it 🙂 The white part is just crown molding on top, baseboard on the bottom, and then crown molding squares. So there is no additional strip / material under the crown molding, just the wall painted white 🙂 Hope that helps!
What color is the paint on the wall? Wherein Williams?
Yes it is called Riverway by Sherwin Williams! 🙂 Glad you like it!!