When we first moved into our house, I knew I wanted a traditional dining hutch to fill one of the empty spaces in our kitchenette dining space. I searched the internet for months to find a hutch that would fit the space well and not break the bank. But I couldn’t find anything under $1,000. So, I decided to search Facebook Marketplace for the perfect piece to DIY furniture flip. This was definitely a rewarding project despite it being harder than I expected. I will take you through my step-by-step process and give you a few tips to make your own DIY furniture flip easy as pie!
*Disclaimer: this post does contain affiliate links which I may receive a commission for if used at no additional cost to you. Read more about my advertising policy here.
Step-by-Step Furniture Flip
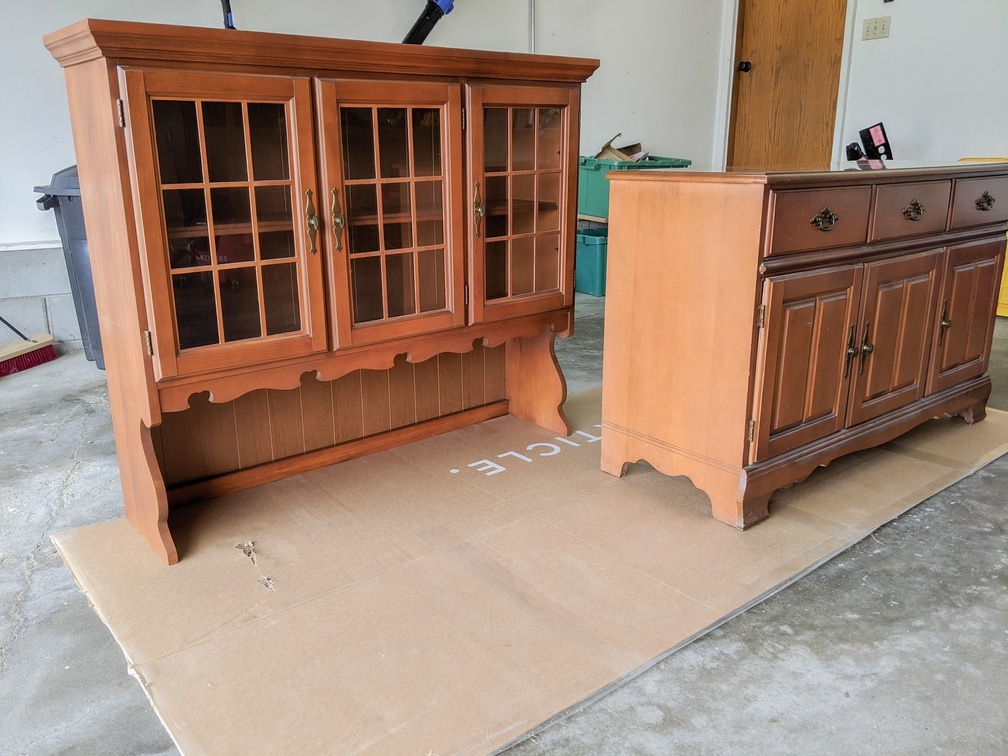
Step One: Find Your Piece on FB Marketplace!
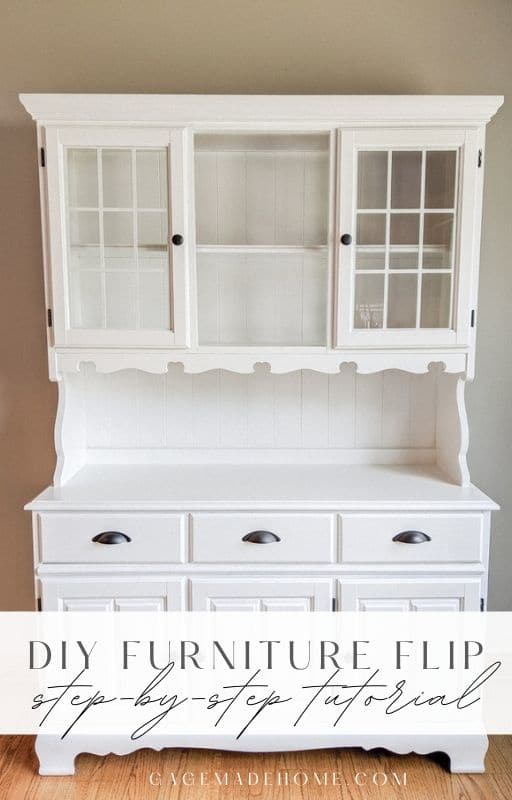
Facebook Marketplace is a GREAT place to find unwanted pieces at an incredible price. I snagged this gorgeous hutch on there for $150. Considering that the price of a brand new one would be 10 times this price, I consider this a HUGE deal. It may take some time and patience to find a good quality piece, but don’t worry. New items are constantly being listed, and you can even set up auto-alerts to notify you when new pieces go live that fit your search description.
Step Two: Gather Your Supplies
It won’t take much to tackle this project; just a few basic tools including a screwdriver, sand paper, caulk, primer, paint, and new hardware or spray paint (optional). Below are the tools I used to tackle this project in case you need somewhere to start:

Step Three: Prep For Paint
Your first step will be to remove any existing hardware and all of the cabinet drawers/doors. Then, wipe the entire piece down with a damp cloth to rid of any residue/grime build-up. Once it’s all clean, it’s time to sand down your entire piece. You can just use an 80-120 grit sandpaper and sand it by hand, or use a power sander to get the job done quicker! Once it’s all sanded down, it’s time to prime.
Step Four: Prime & Paint – Patience is Key Here!
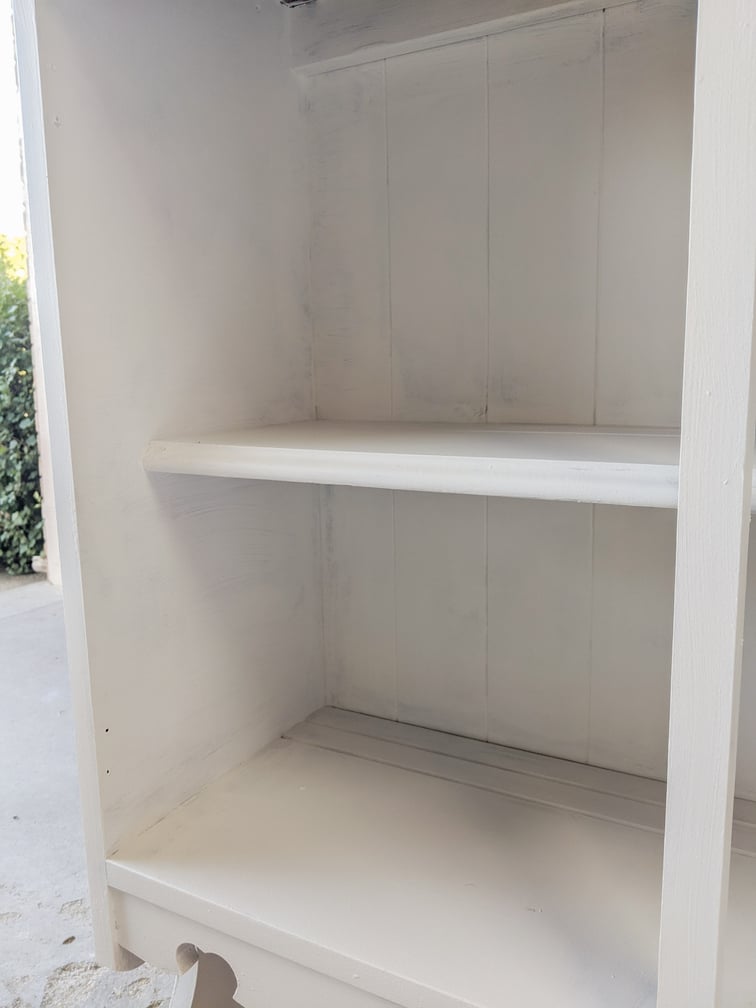
Priming is one of the most important steps. You will want to make sure it’s primed at least 2-3 layers so that the paint has a smooth finish. The primer will look a little messy like the image below, but that is OKAY. Any imperfections will be covered by your 1-2 layers of paint after priming. Take your time getting in the grooves of the piece, using a roller for larger surface areas and a smaller hand brush for those nooks and crannies.
Step Five: The Final Touches
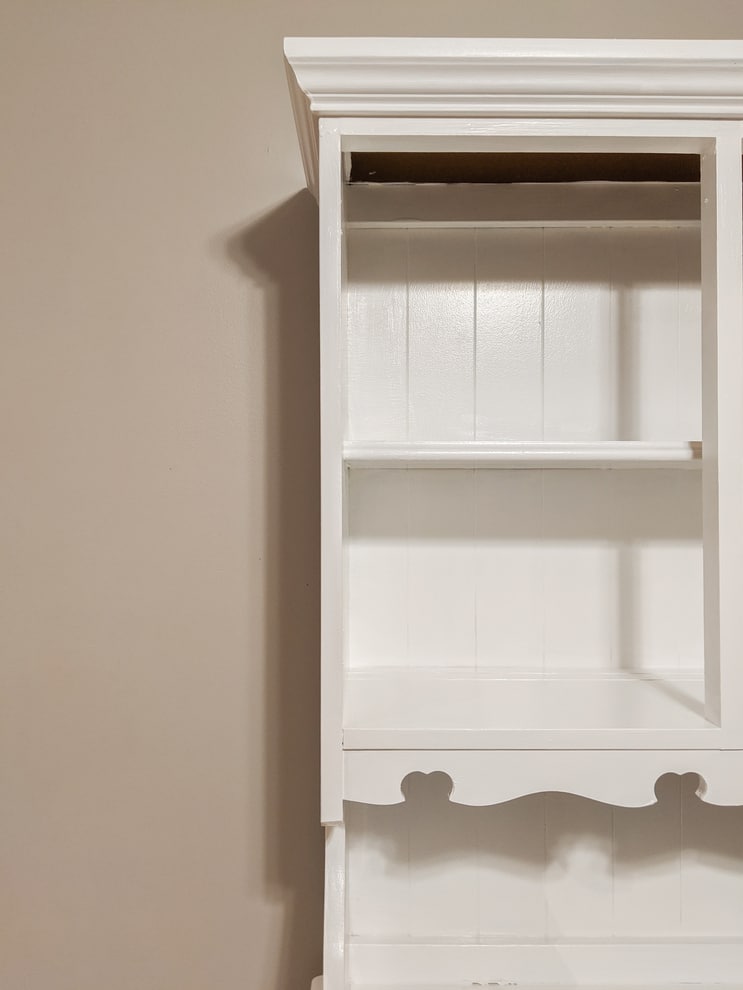
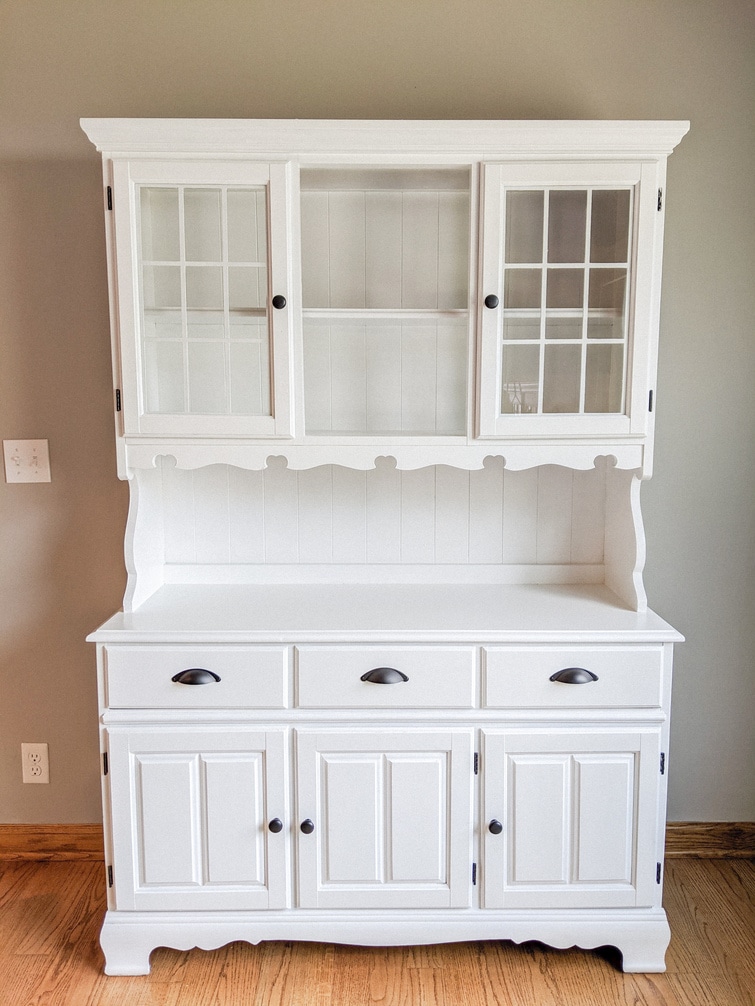
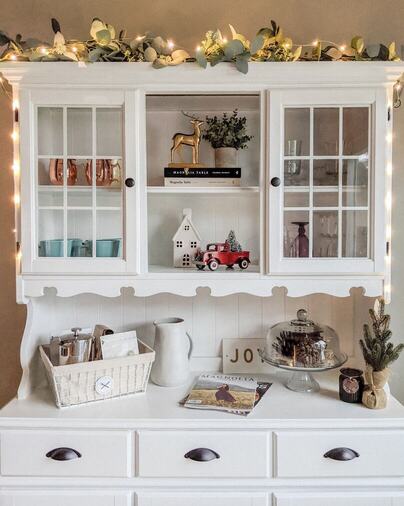
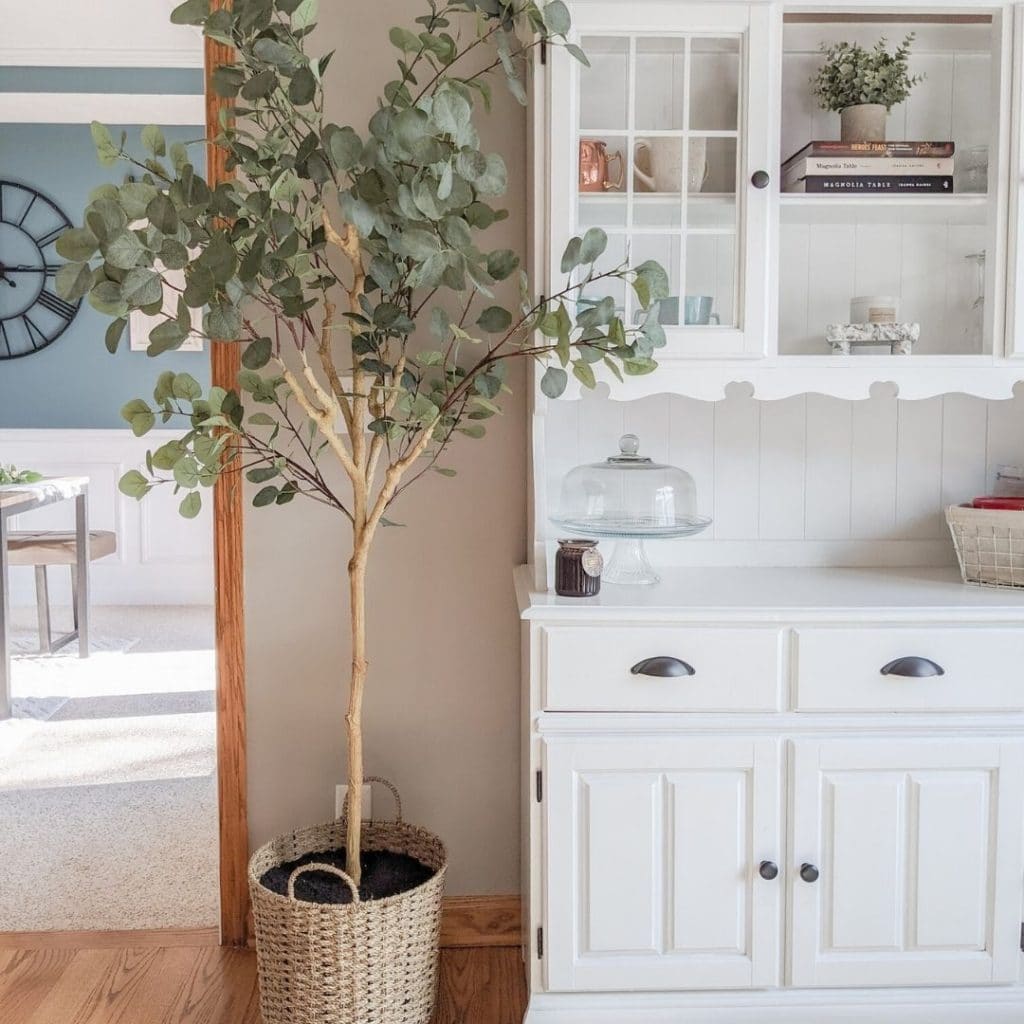
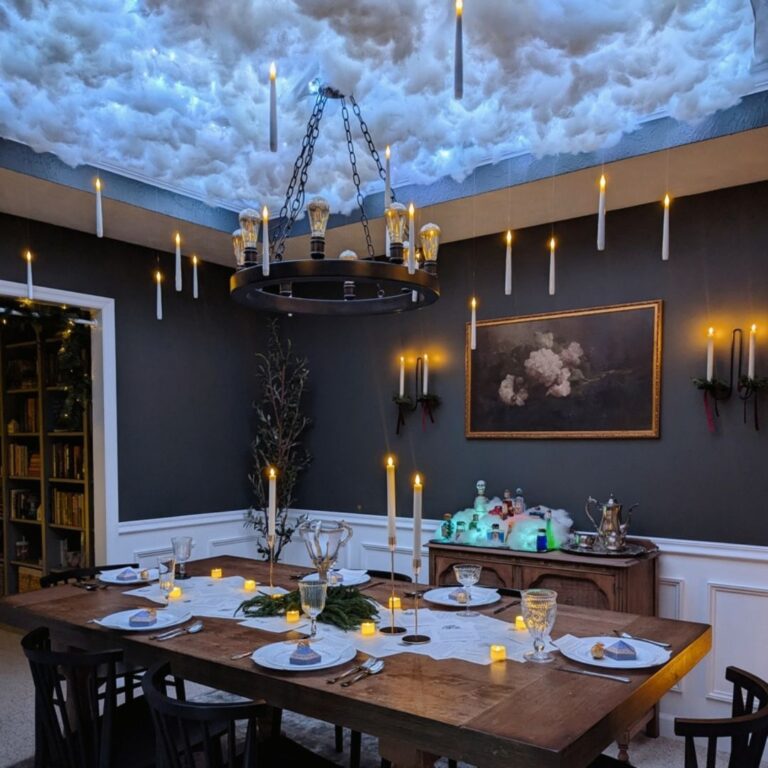
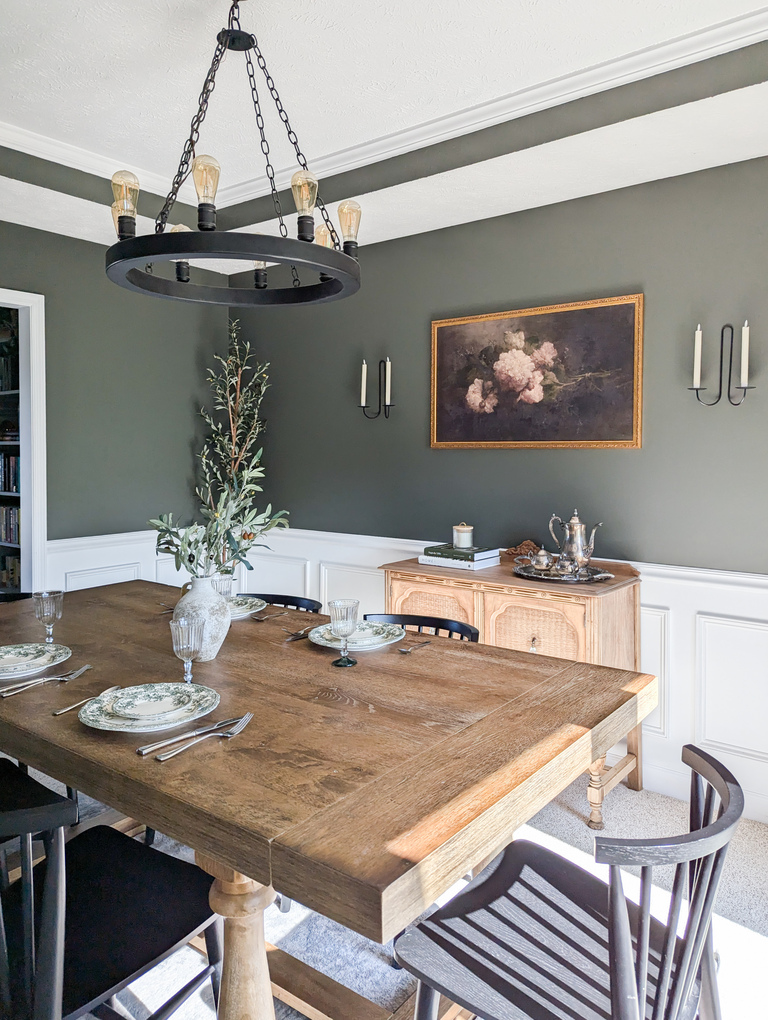
Painting is the longest step, which makes step five the most rewarding! Finish up those final touches by adding on your new hardware (or spray-painting the existing hardware) and then adding the doors and drawers back on. Once you’ve done that, it’s time to decorate and enjoy your newly refurbished furniture piece! I enjoy decorating my hutch differently throughout the year and find it most rewarding to use this space as a creative outlet through all the different seasons.
Shop Some Decor Ideas:

That’s a wrap! Five easy steps and you have yourself a beautiful, good-as-new piece that you can proudly say you brought new life to yourself! Looking for more DIY inspiration? Check out my DIY project archives here for more tutorials and home design tips.
The DIY Furniture Flip Tutorial: Video Edition
Click below for a quick and easy video tutorial of this process. Sometimes seeing it is easier than reading it! While you’re at it, toss my Instagram page a follow for daily DIY and home decor inspiration. I can’t wait to connect with you!




2 Comments
You did it perfectly Brittney. great explanations too. Love the finished product.
Thank you so much!! I’m glad you like it 🙂